Week 3: Third round of installs – (Episode 4)
We are definitely going into the crunch time with only 2 weeks left before the show. So let’s dive right into this weeks installs. On the plate for today we have the RCI Skid Plates, KC Lights, and the ARB On-Board Air Compressor.
RCI Skid Plates
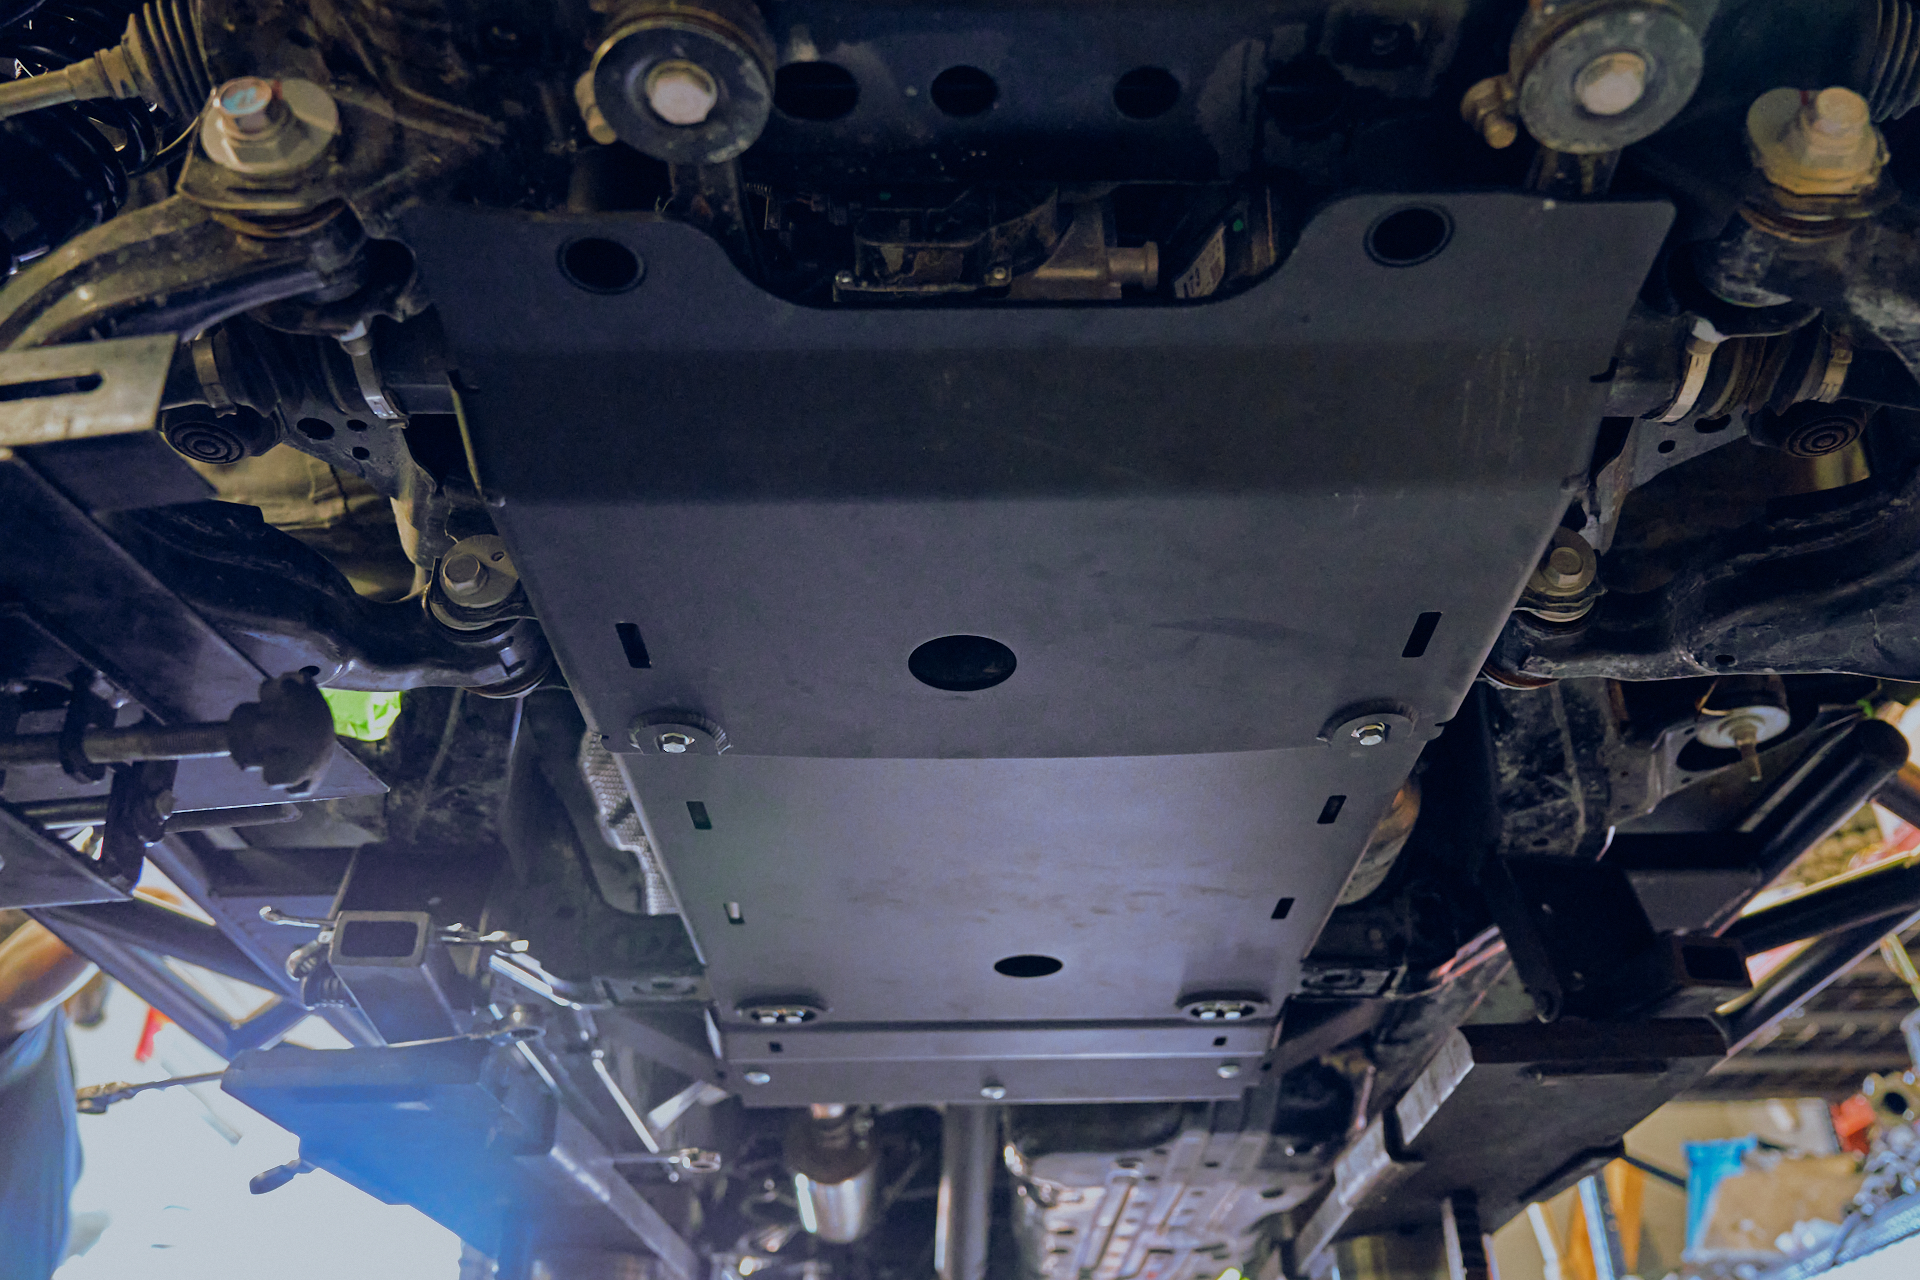
As much as we’d like to think of our trucks as rugged beasts, there are still plenty of sensitive parts that need some extra protection. The underside has a lot of exposed components that if damaged could be extremely costly to repair/replace. While the open road we won’t generally encounter anything of this nature, the off-road landscape presents countless opportunities for your underbody to be damaged. Skid Plates do exactly what you’d think they do. They cover the exposed, more sensitive components under the vehicle, skidding over what otherwise might catch on or strike things like your oil pan, transmission, or transfer case.
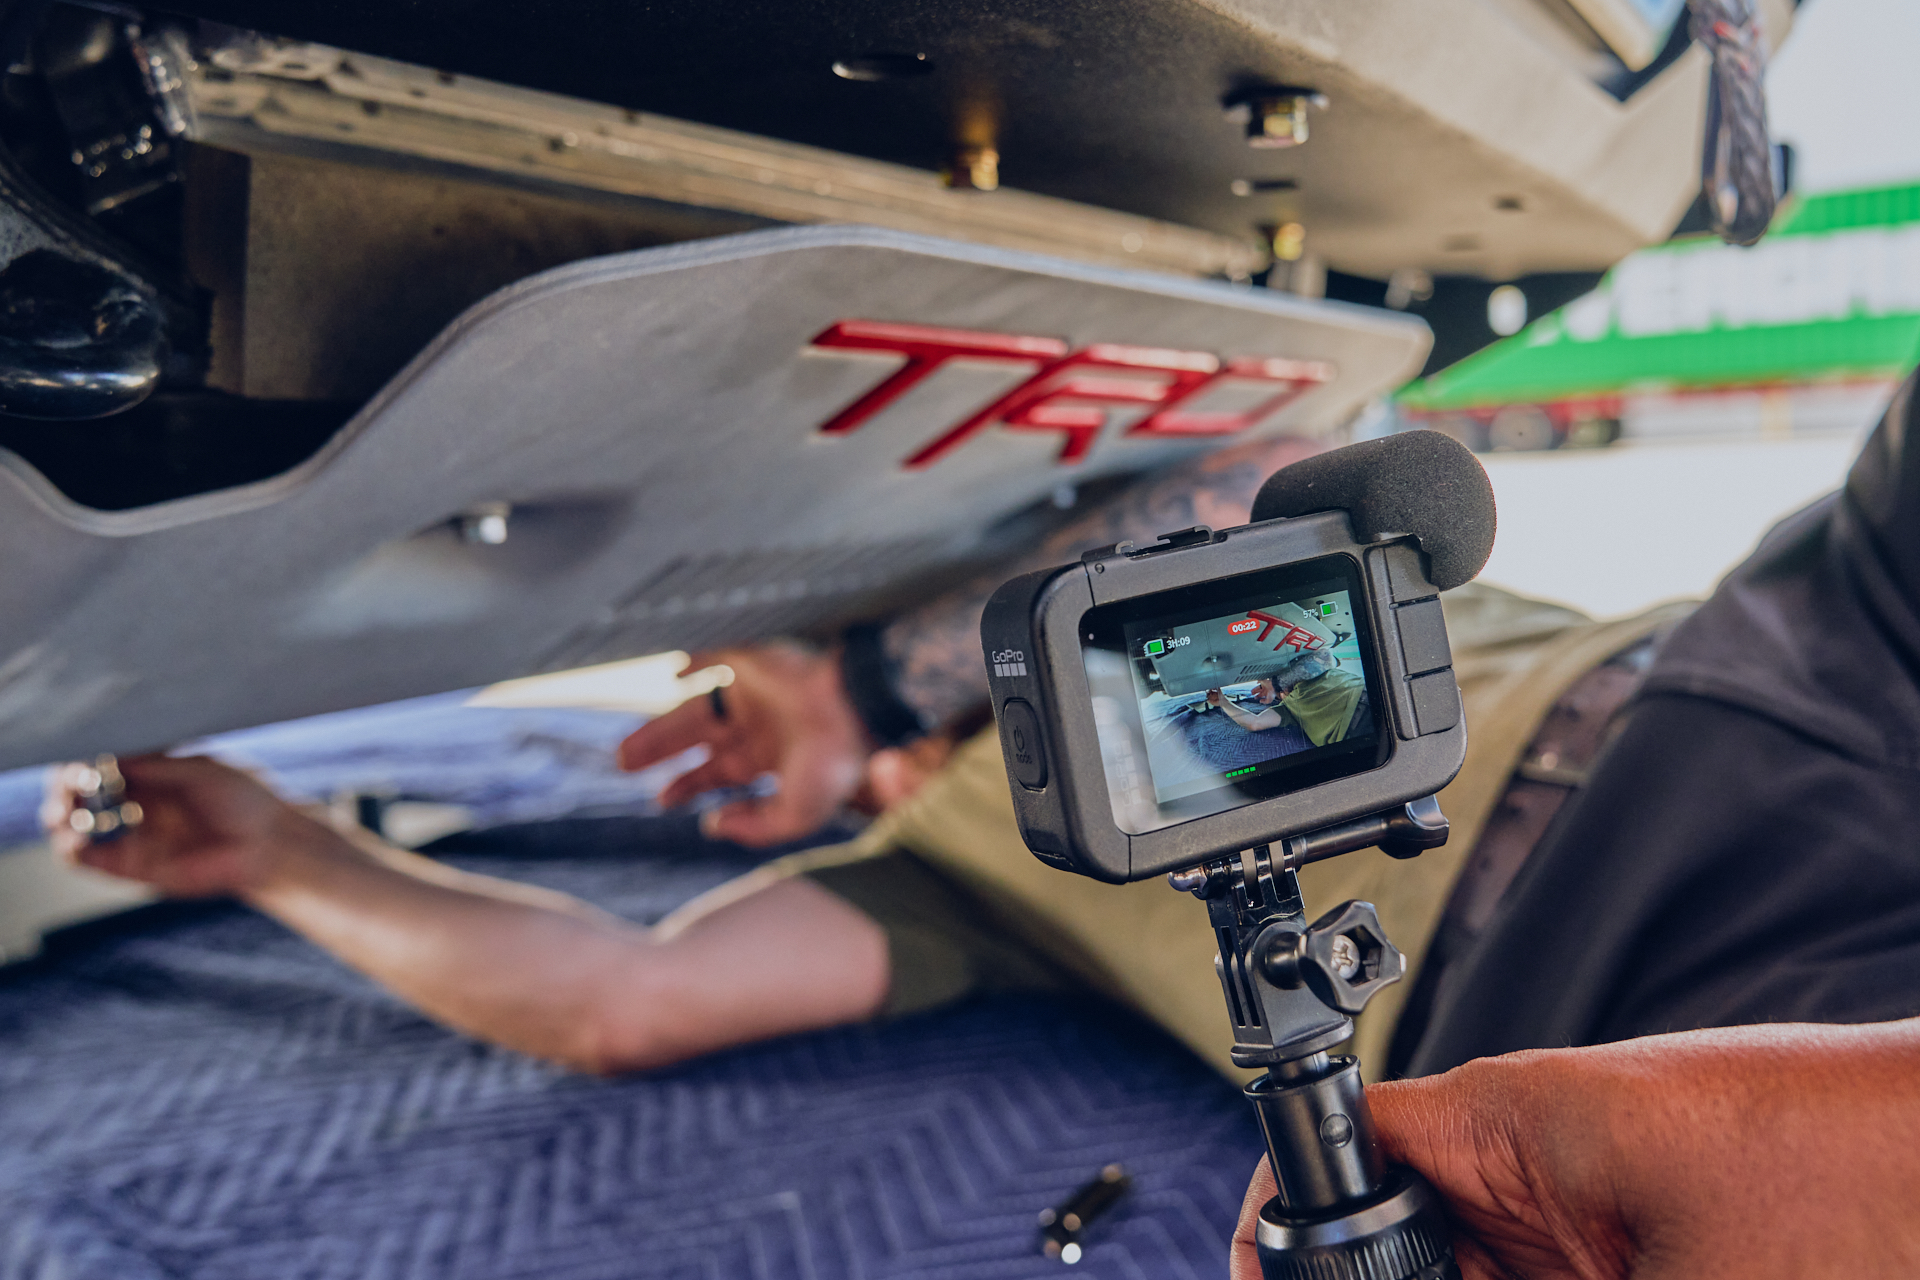
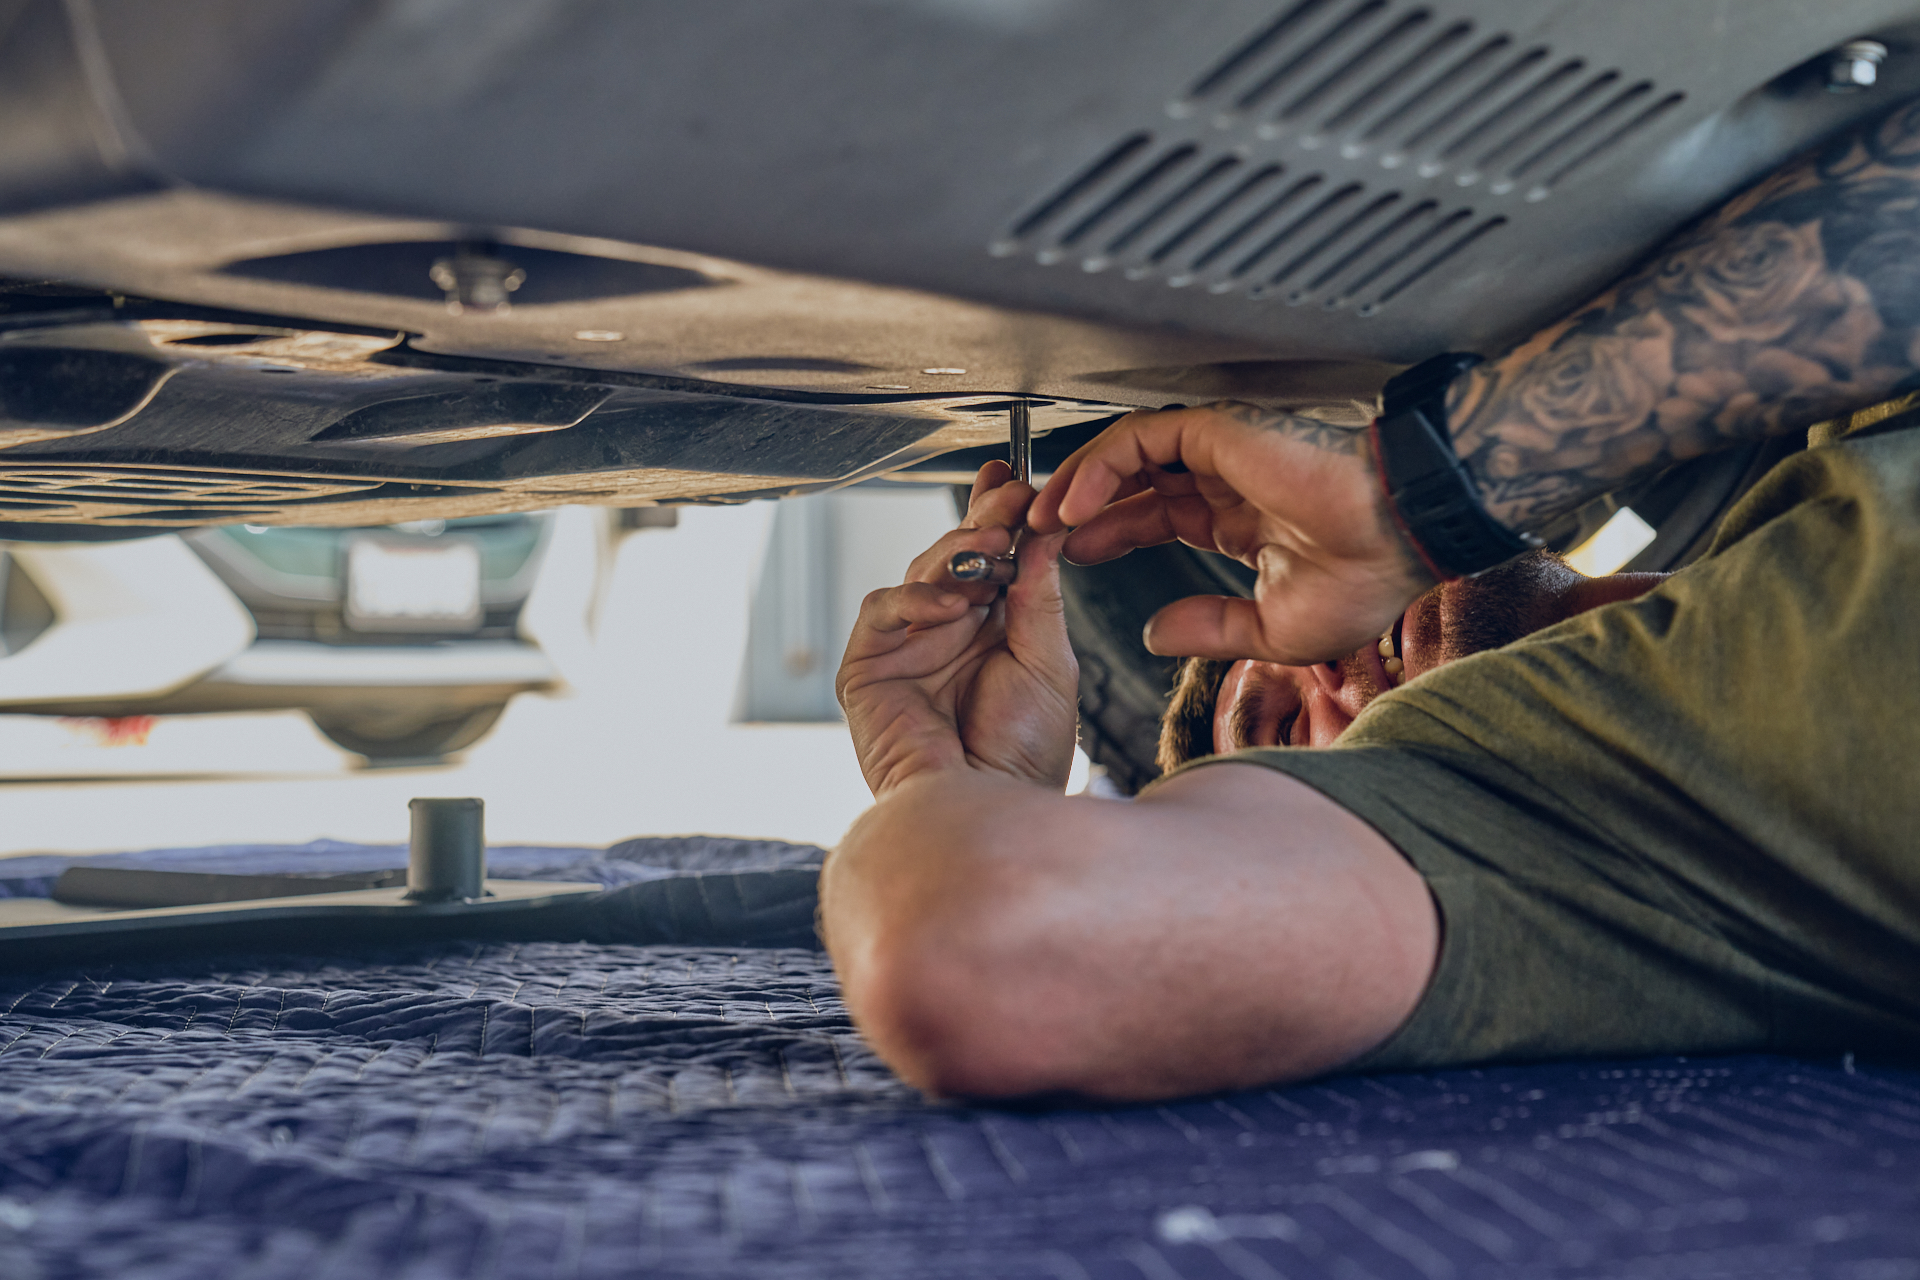
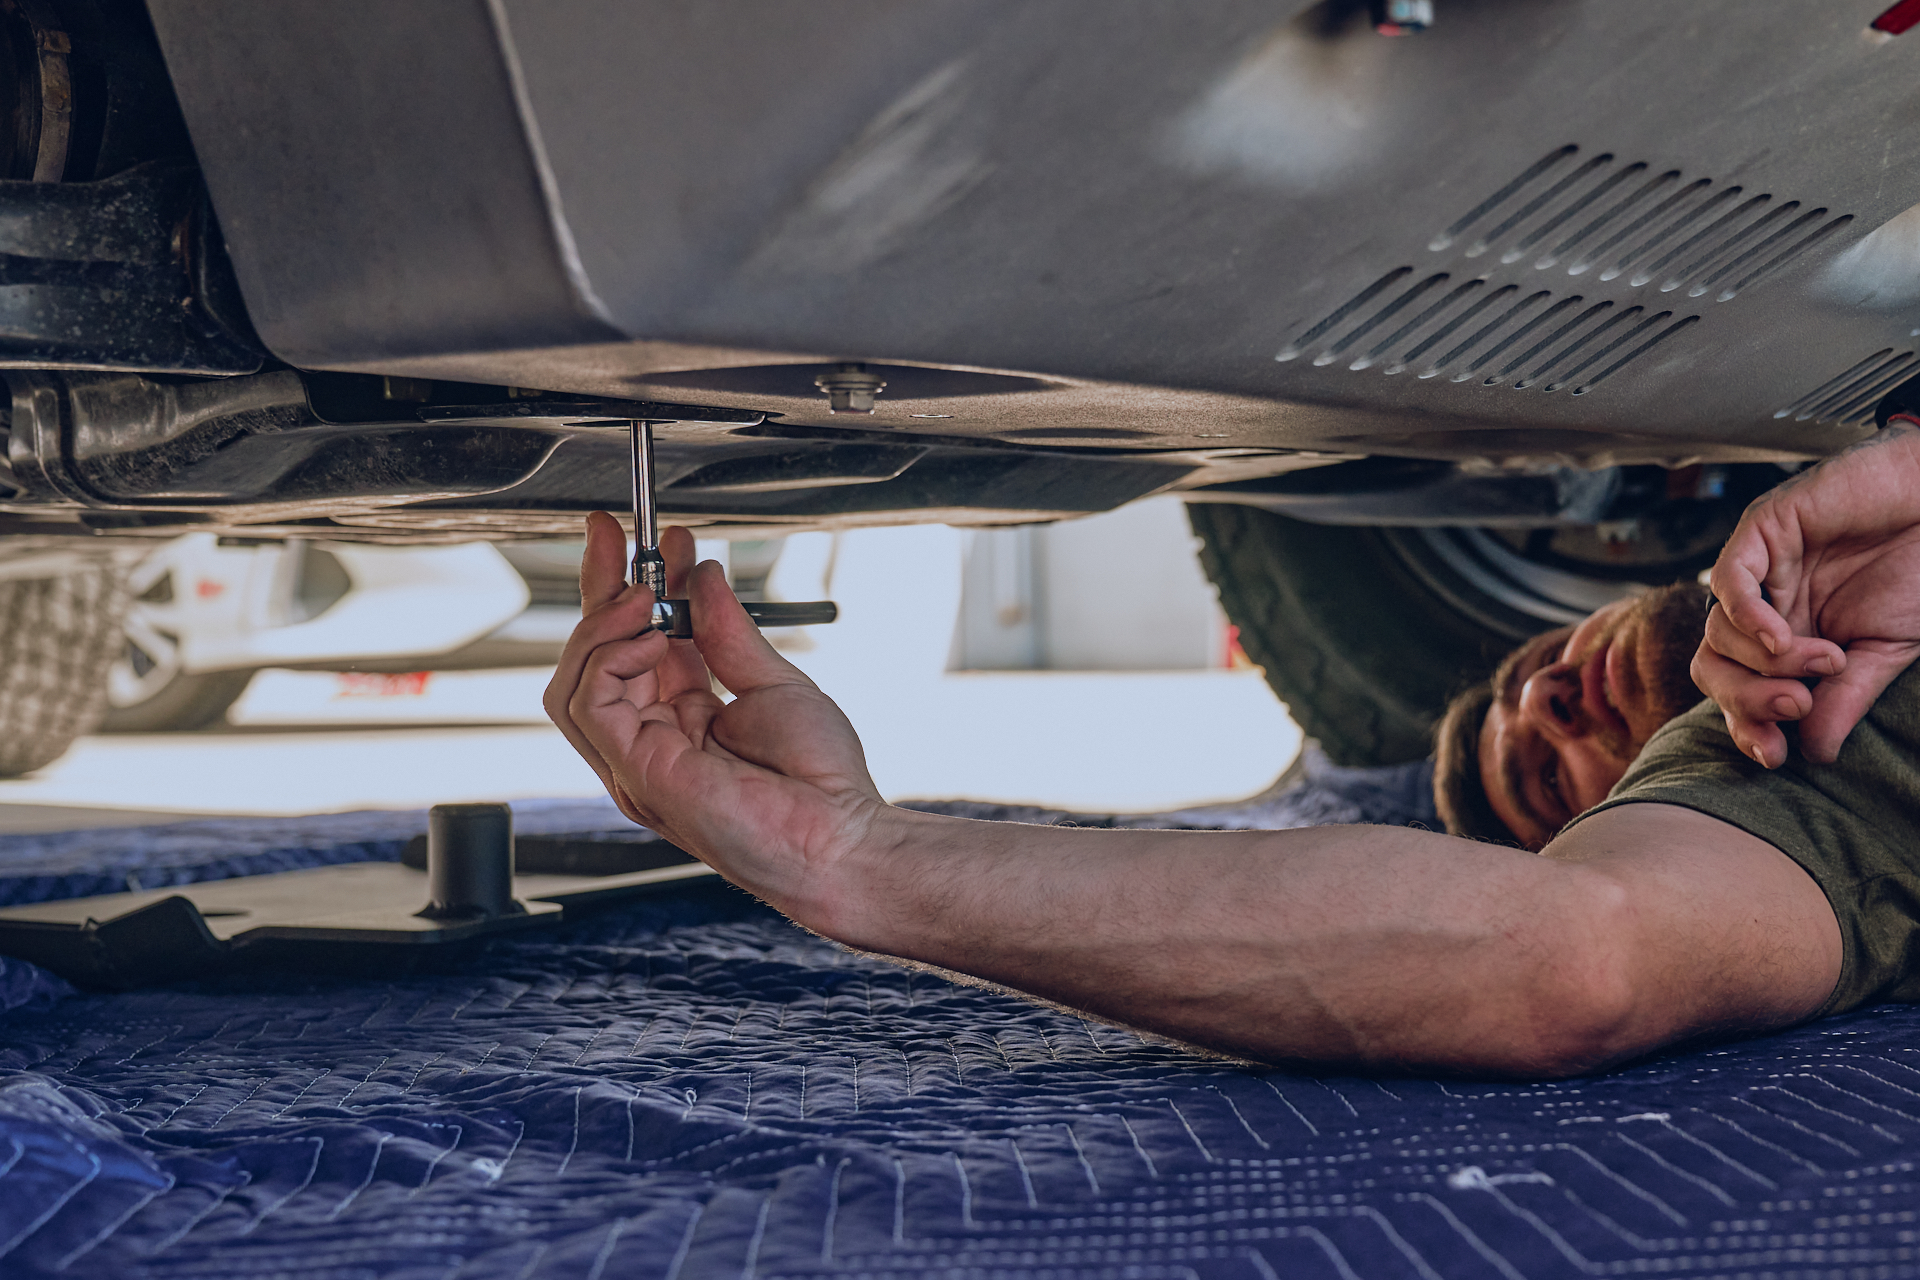
RCI makes a lot of great off-road products and their skid plates are no exception. We decided to go with their full set of Transmission, Transfer Case, and TRD Integration Engine Skid plates for complete coverage. Christian was particularly excited that they had an engine skid plate option that integrated with the factory TRD front skid plate. Each skid plate is made from ¼” 5052 Aluminum with a black powder coat finish (for extra durability). Now there is plenty of debate between aluminum and steel skid plates. When it comes down to it though, if you’re not planning on doing a ton of crazy crawling and sliding your truck over rocks non stop, the aluminum will hold up just fine.
We’re happy to say these bad boys bolted on without a fuss. We were quite surprised by the weight of them though. Even though the aluminum version is lighter than the steel options, they are still quite heavy. We have no doubts these will hold up just fine to the occasional “oops” moments off-road.
KC HiLiTES
One of the highlights of off-roading is getting away from civilization. However, this also adds a bit of challenge to a vehicle built for urban roads. If you’ve ever been far from civilization at night, you know how dark it actually gets. To see where you’re going clearly when the sun goes down, you really need to step up your light game. We decided to go with KC HiLiTES to handle our sun down off-road vision needs. KC has been in business for over 50 years specializing in off-road racing, so they were our top choice.
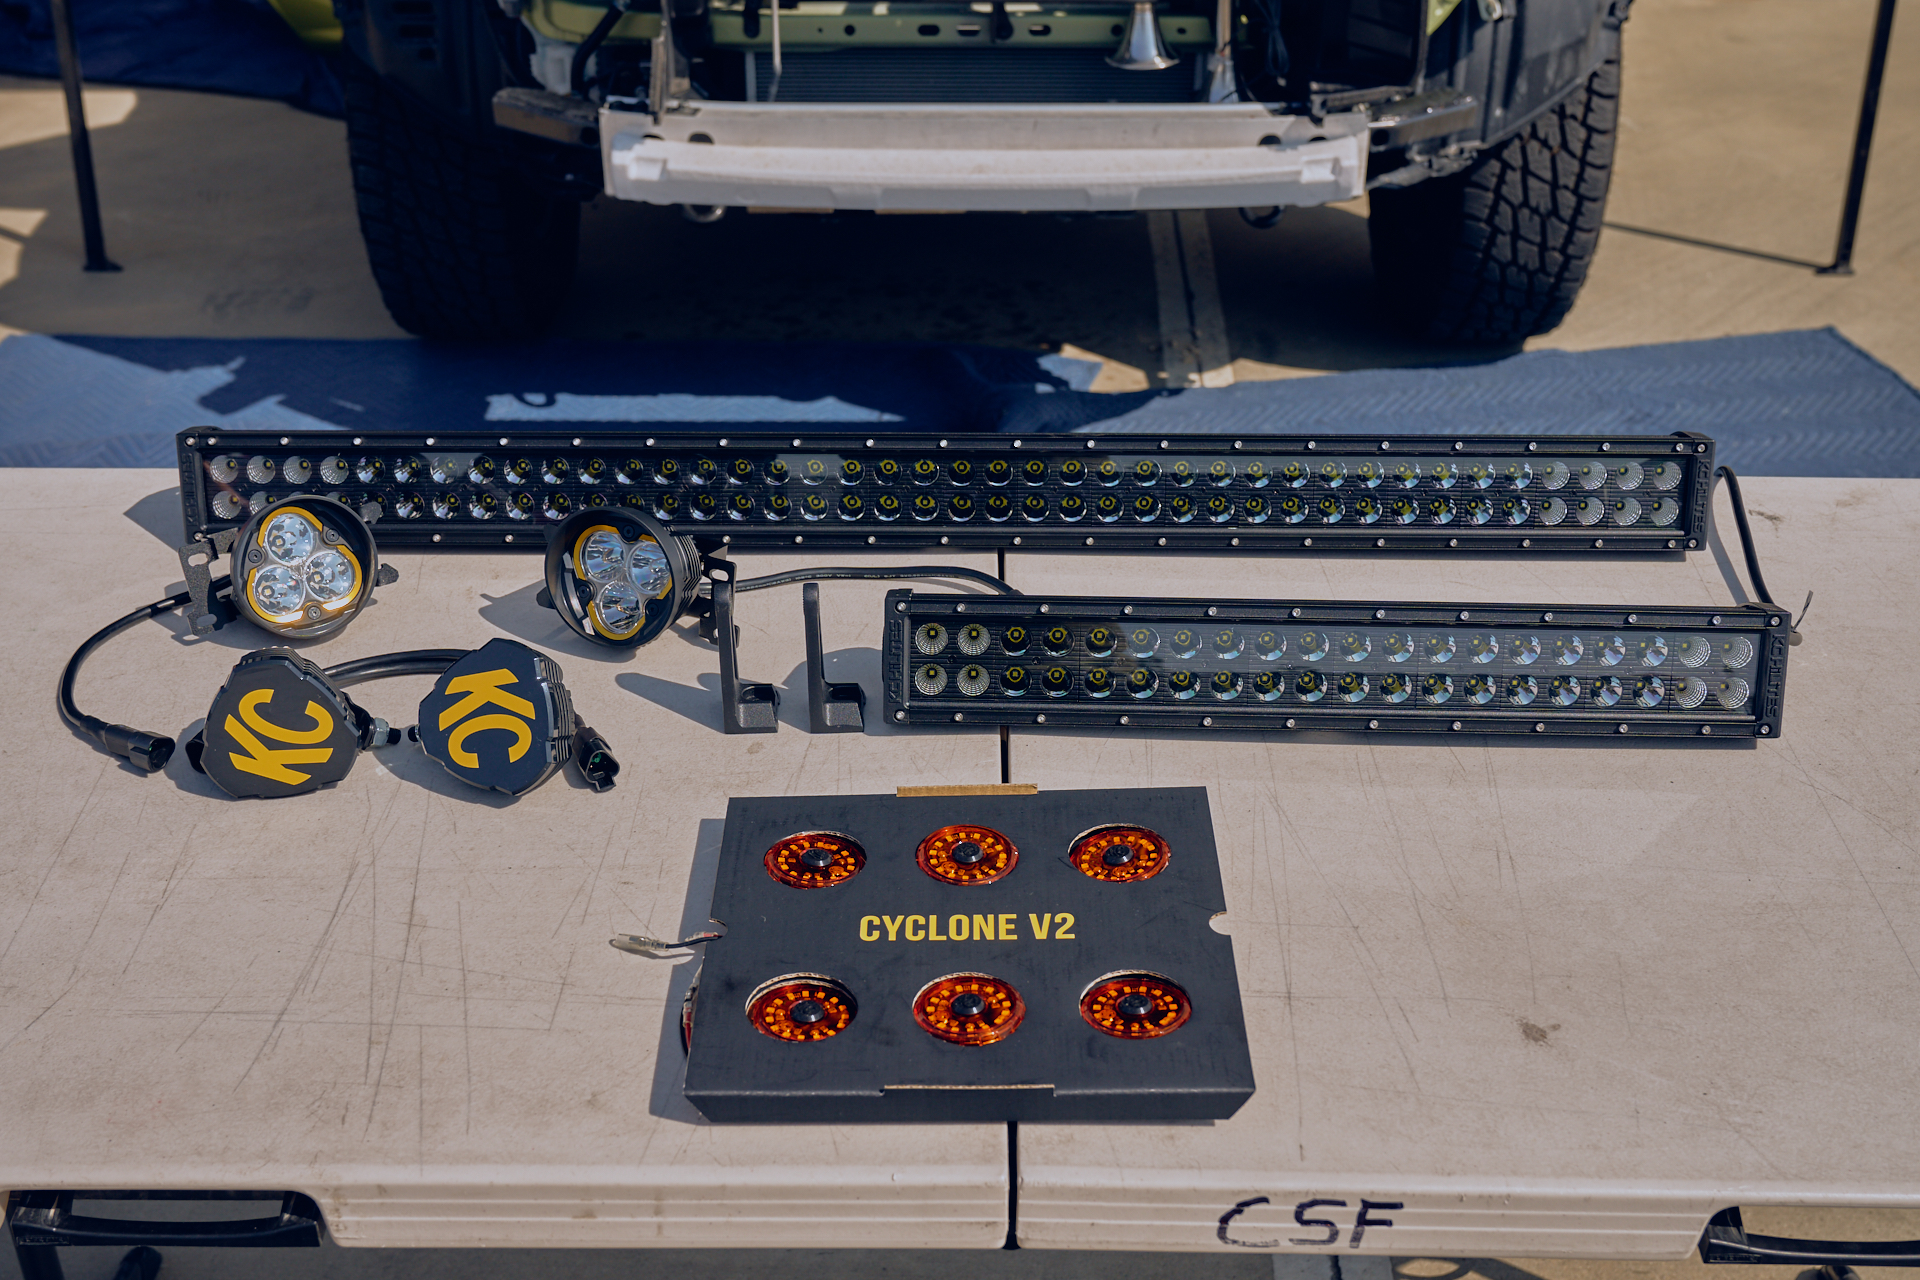
The lighting options we went with should cover all the major bases and ensure we have the best vision on the trails. For lighting up the path in front of us we went with a combination of two LED Light Bars, and Fog Lights. We also picked up a pair of ditch & rock lights to cover our vision to the sides and under the 4Runner.
Light Bars
The first Light Bar is a 40 inch unit (KC – 40″ C-Series C40 LED – Light Bar System) that will mount to the roof of the 4Runner just above the windshield. Rated at 21,600 lumens and a beam distance of 1058 meters (3471 ft), we have zero doubts we’ll have any issues seeing what’s ahead of us. Because of the mounting height and position of the 40” bar, the area just in front of the truck will be lacking some light. Here is where our second Light Bar fills in the gap and gives us that extra vision we need.
The second bar will mount in our WESTiN Front Bumper we installed in the last episode. A bumper mounted bar at the very front of the 4Runner gives us excellent vision of the path directly in front and off into the distance. There will also be potential times where we won’t be running the top bar so having a high output front bar will be a real lifesaver. For example, in rainy or extremely dusty conditions, the top light bar will actually make it harder to see due to the light beams passing directly over/in-front of the windshield.
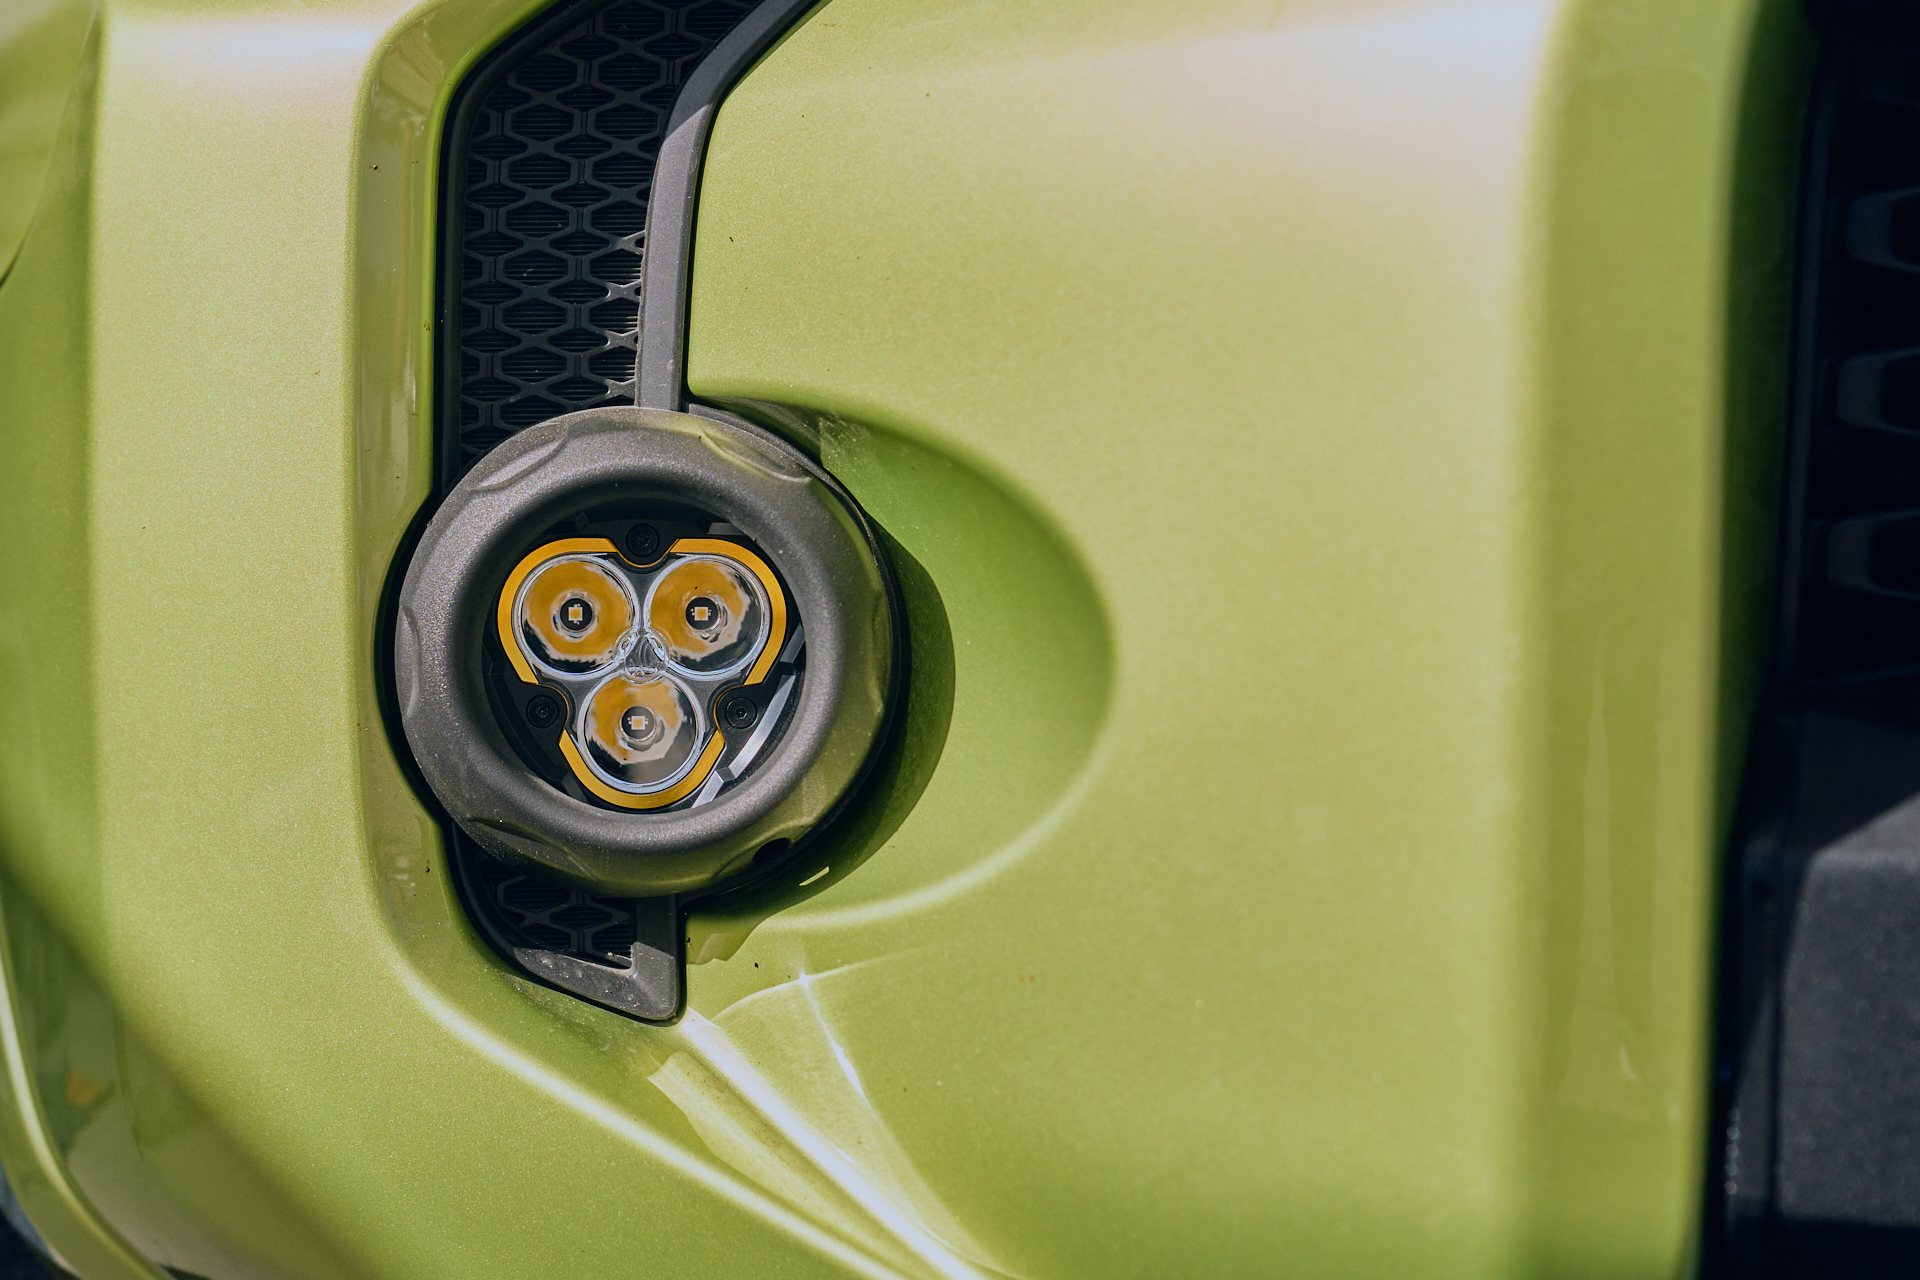
Fog Lights
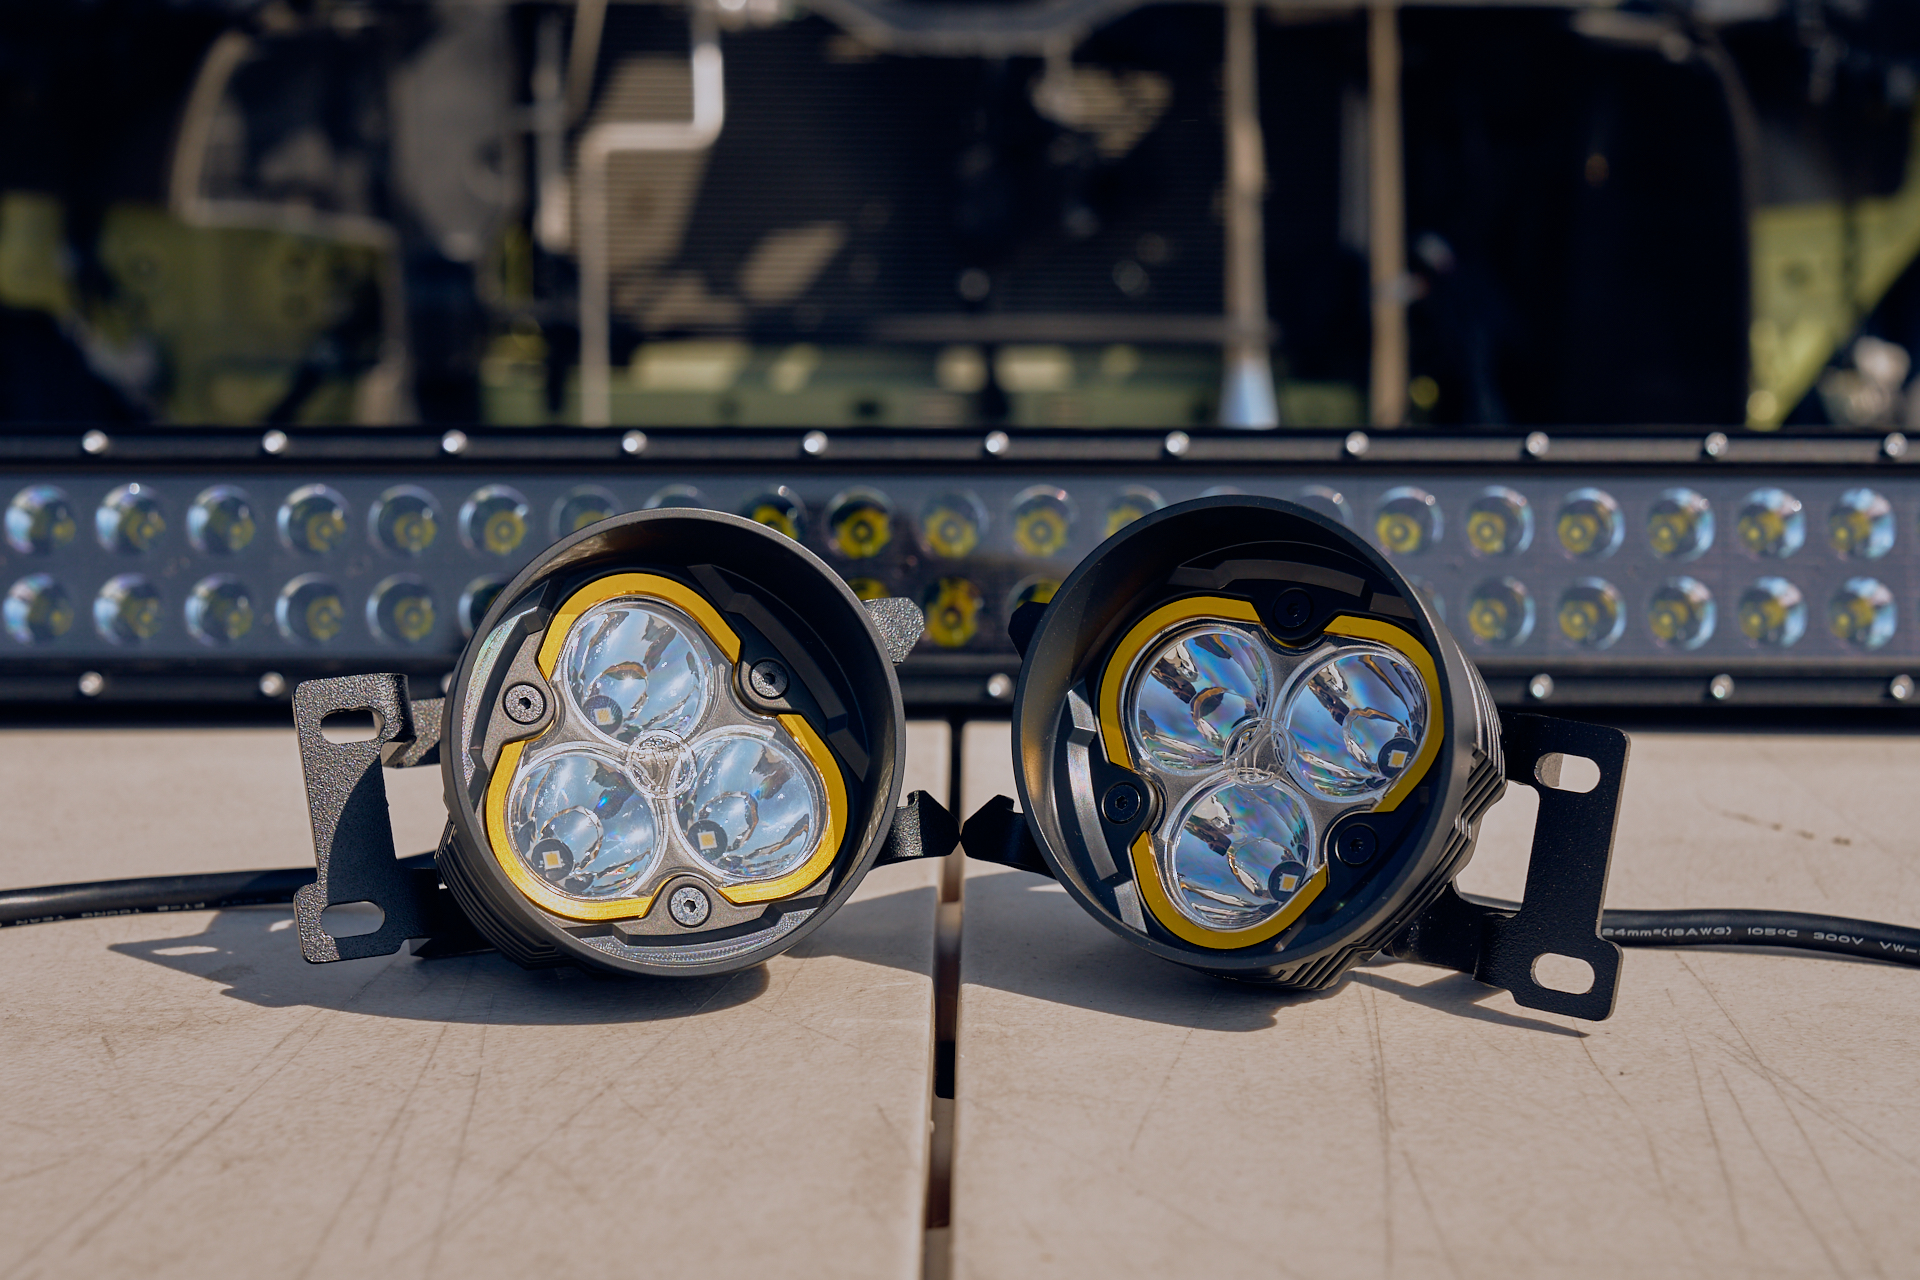
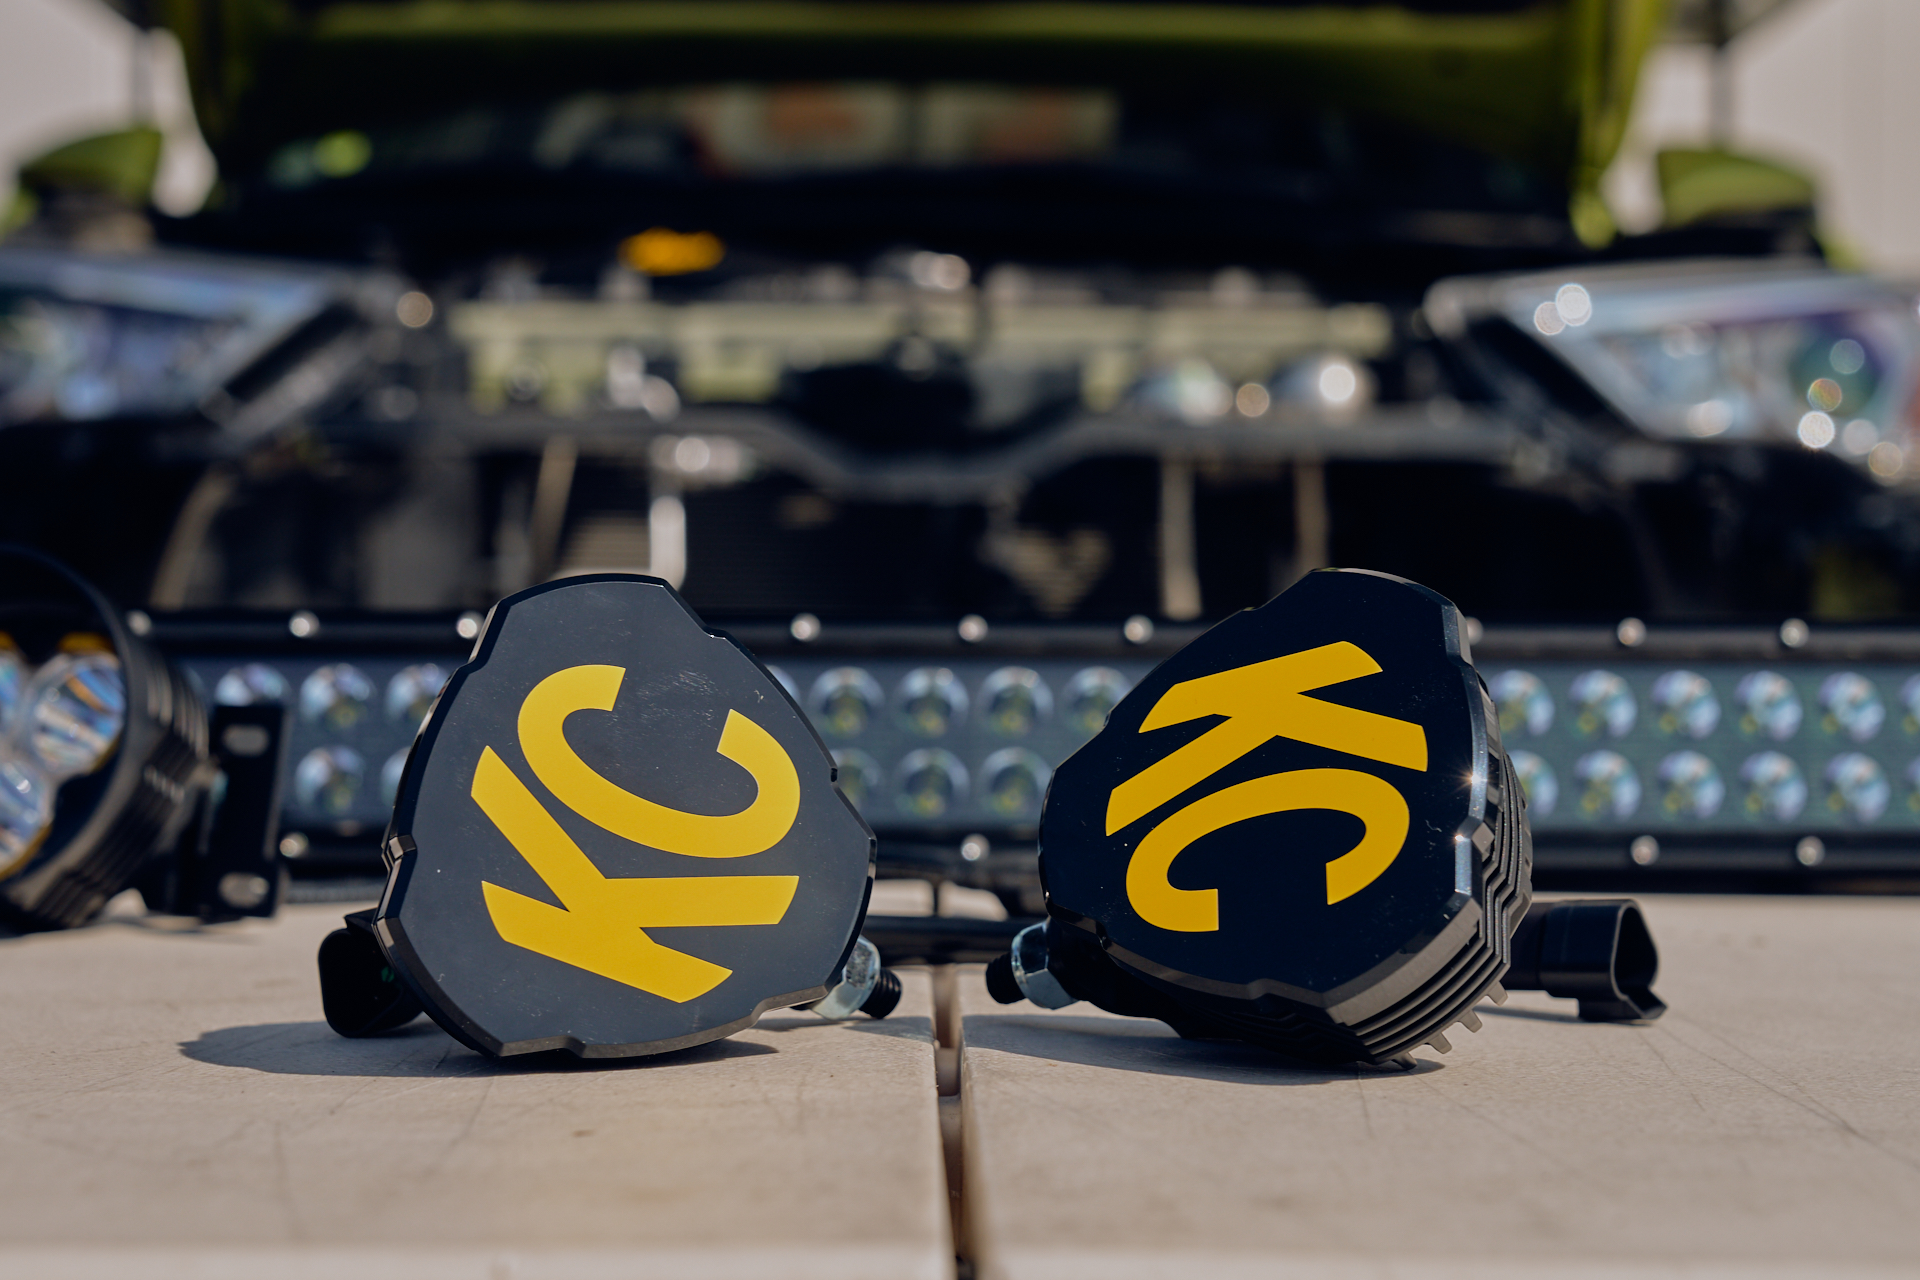
KC was kind enough to send us a set of prototype FLEX ERA® 3 Pocket Fog Lights that are a direct swap for the OEM units. OEM fog lights are notoriously weak and are just not practical for off-road use. These new KC units are an amazing balance of both form and function. The triple LED bulbs look awesome, but the amount of light they produce is astonishing. These will really help us see the ground immediately in front of us and cover some of the small areas the light bars won’t illuminate as effectively.
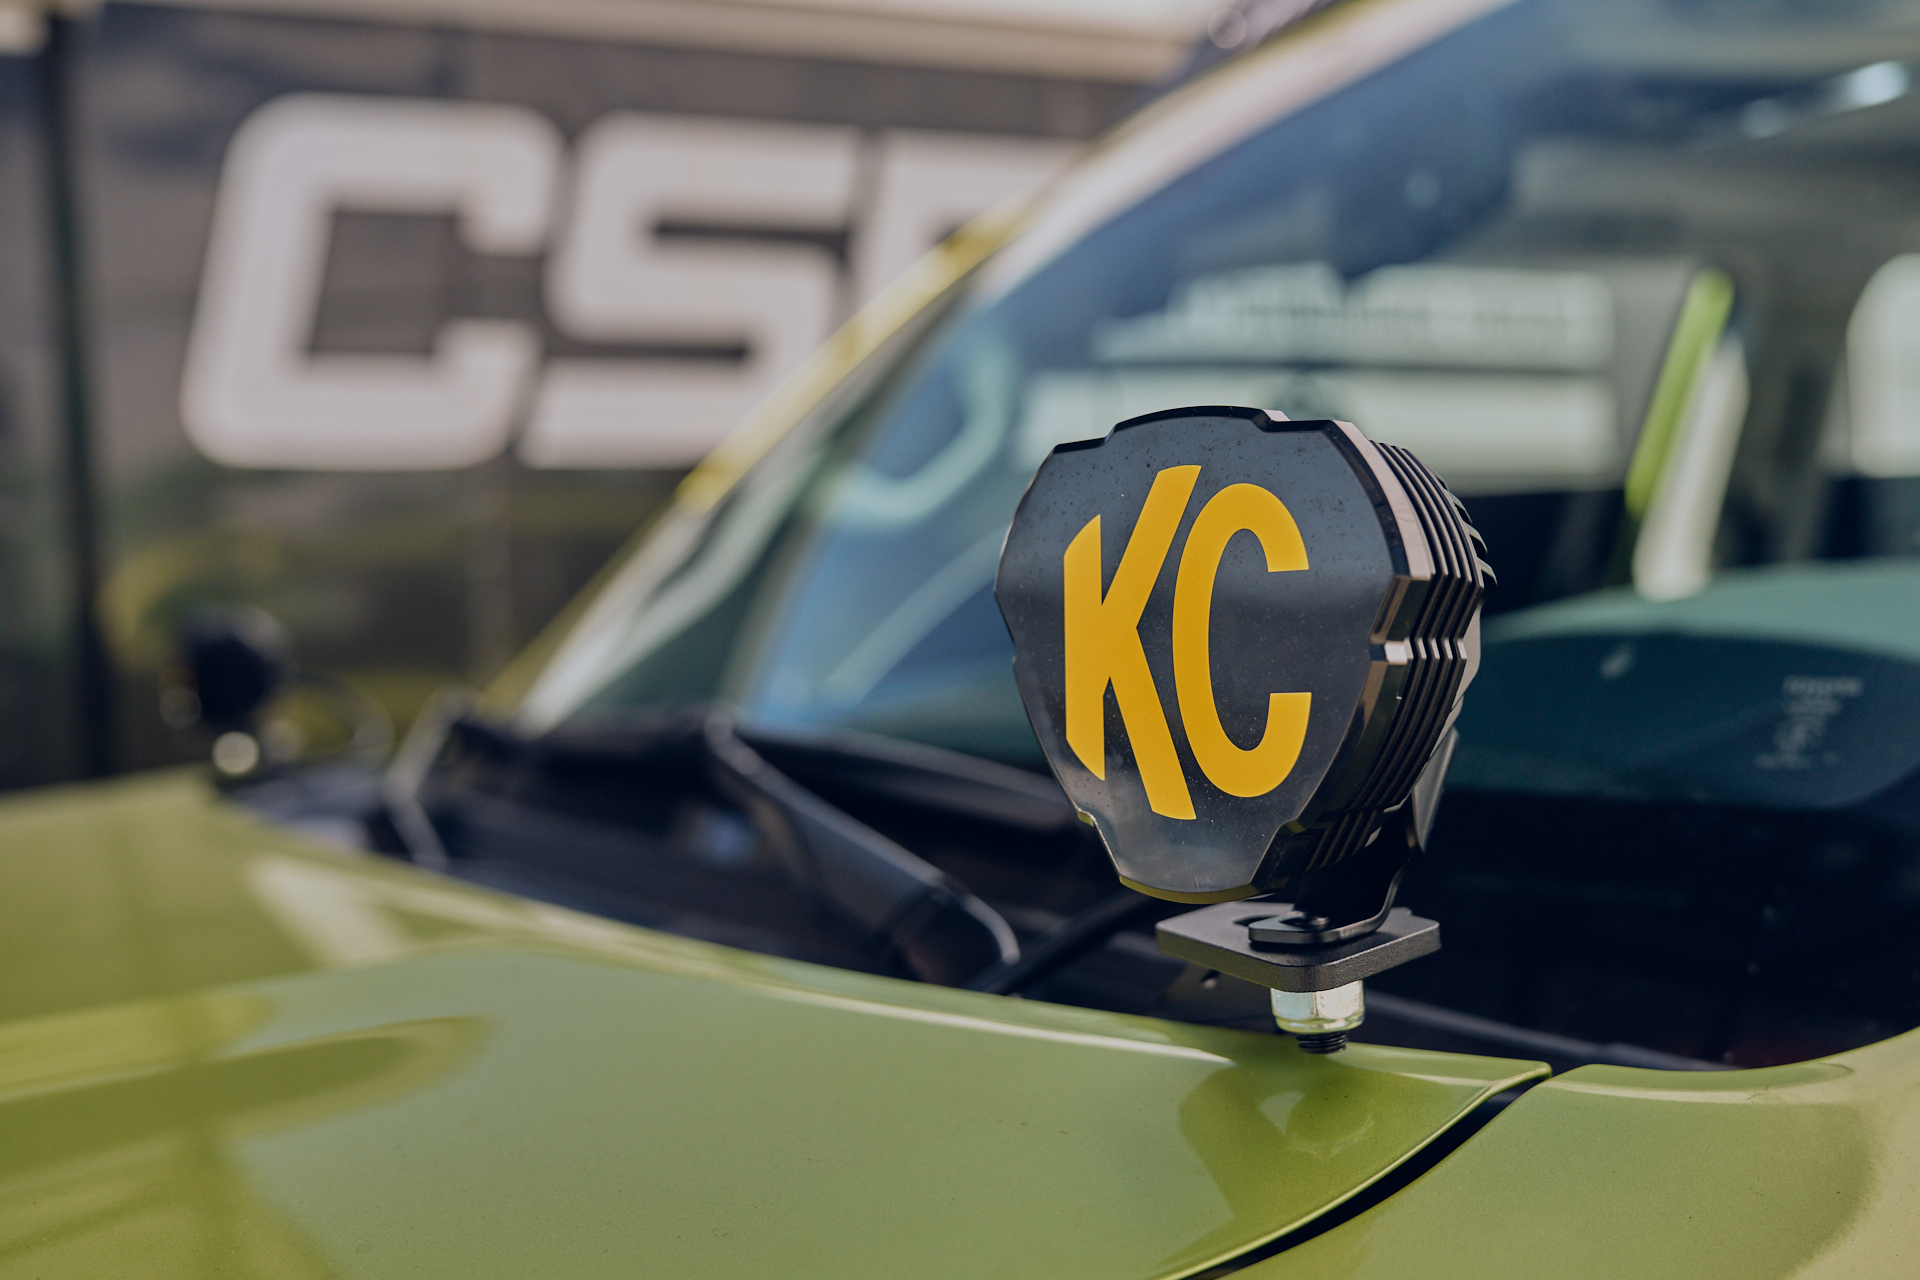
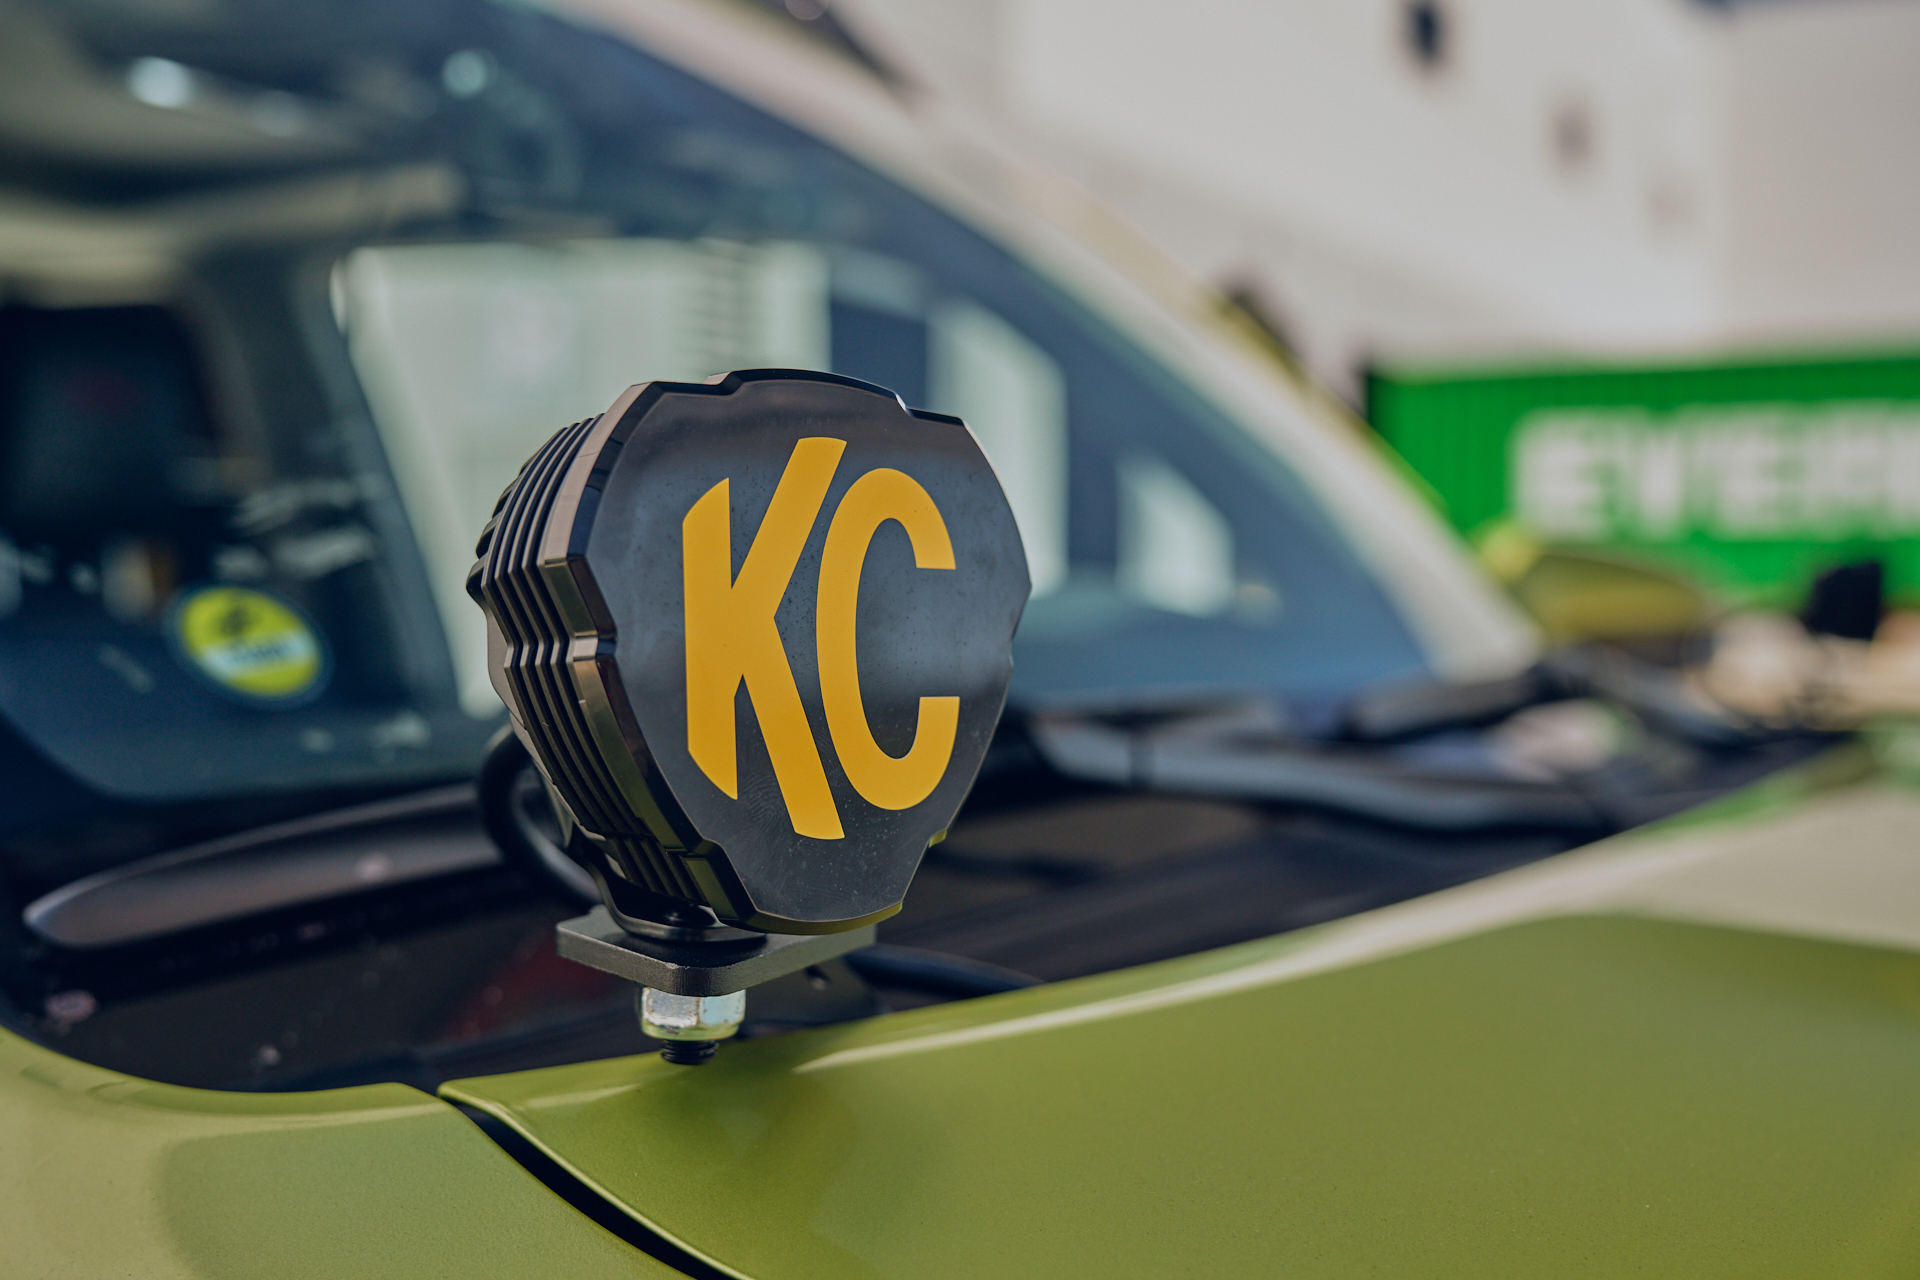
Ditch Lights
The Ditch lights are exactly what they sound like. Mounted right in front of the windshield on both sides, these units are angled outwards to illuminate the sides of a trail. This helps us keep track of ditches, cliffs, or other obstacles which we want to steer clear of. These FLEX ERA® 3 Ditch lights also match the styling of our fog lights and give a nice consistent feel to the whole lighting scheme.
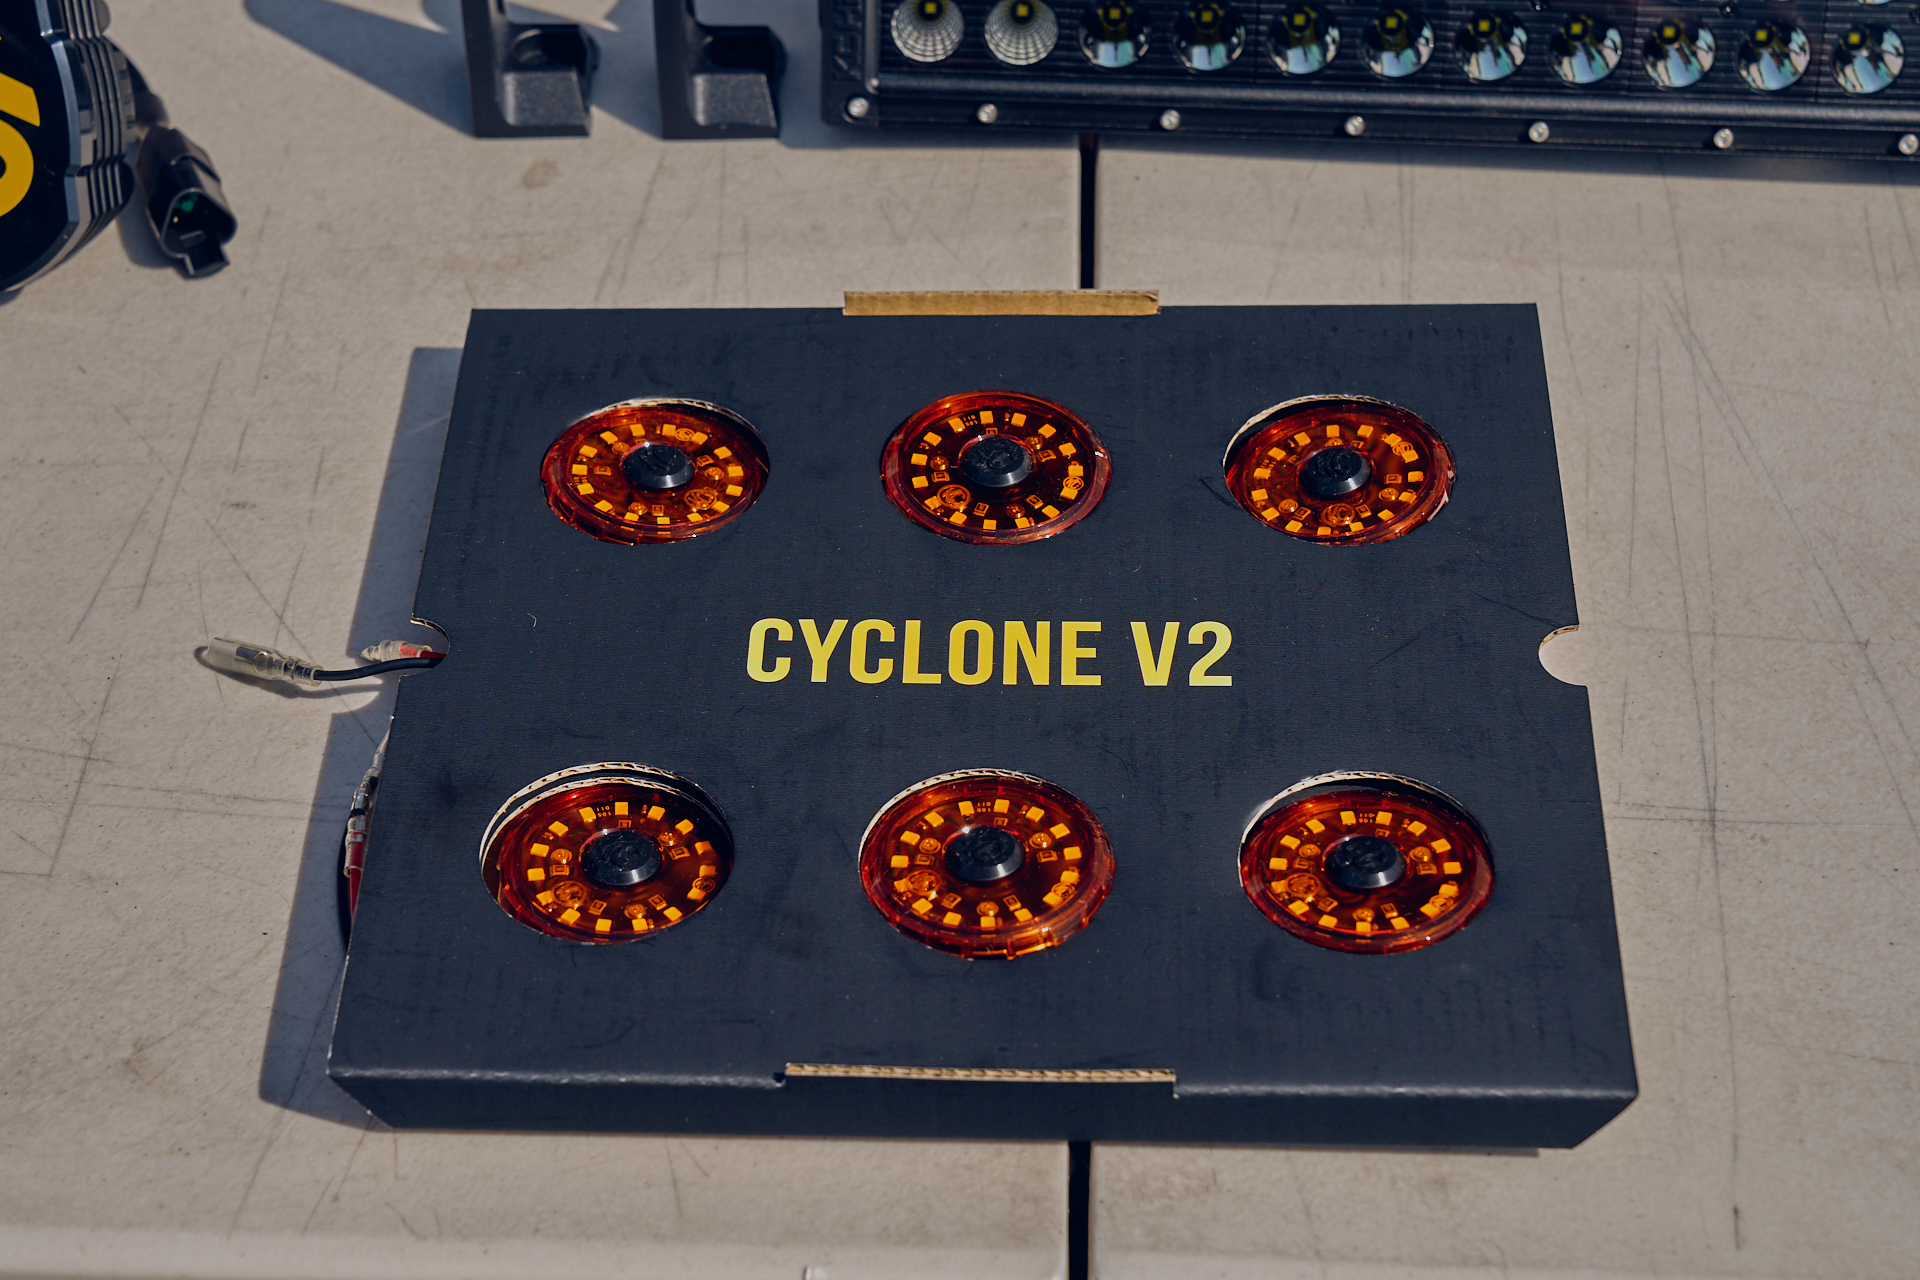
Rock Lights
To round our lighting package we went with a set of KC’s Cyclone V2 LED Rock Lights. These are mounted on the underside of the 4Runner to light up the ground under and slight around it. While this may sound like an unglow setup out of The Fast & The Furious, it’s actually a very practical system for off-roading. As you drive over obstacles or extremely uneven terrain it’s very helpful so look out your windows and see if you’re going to bottom out or get yourself stuck.
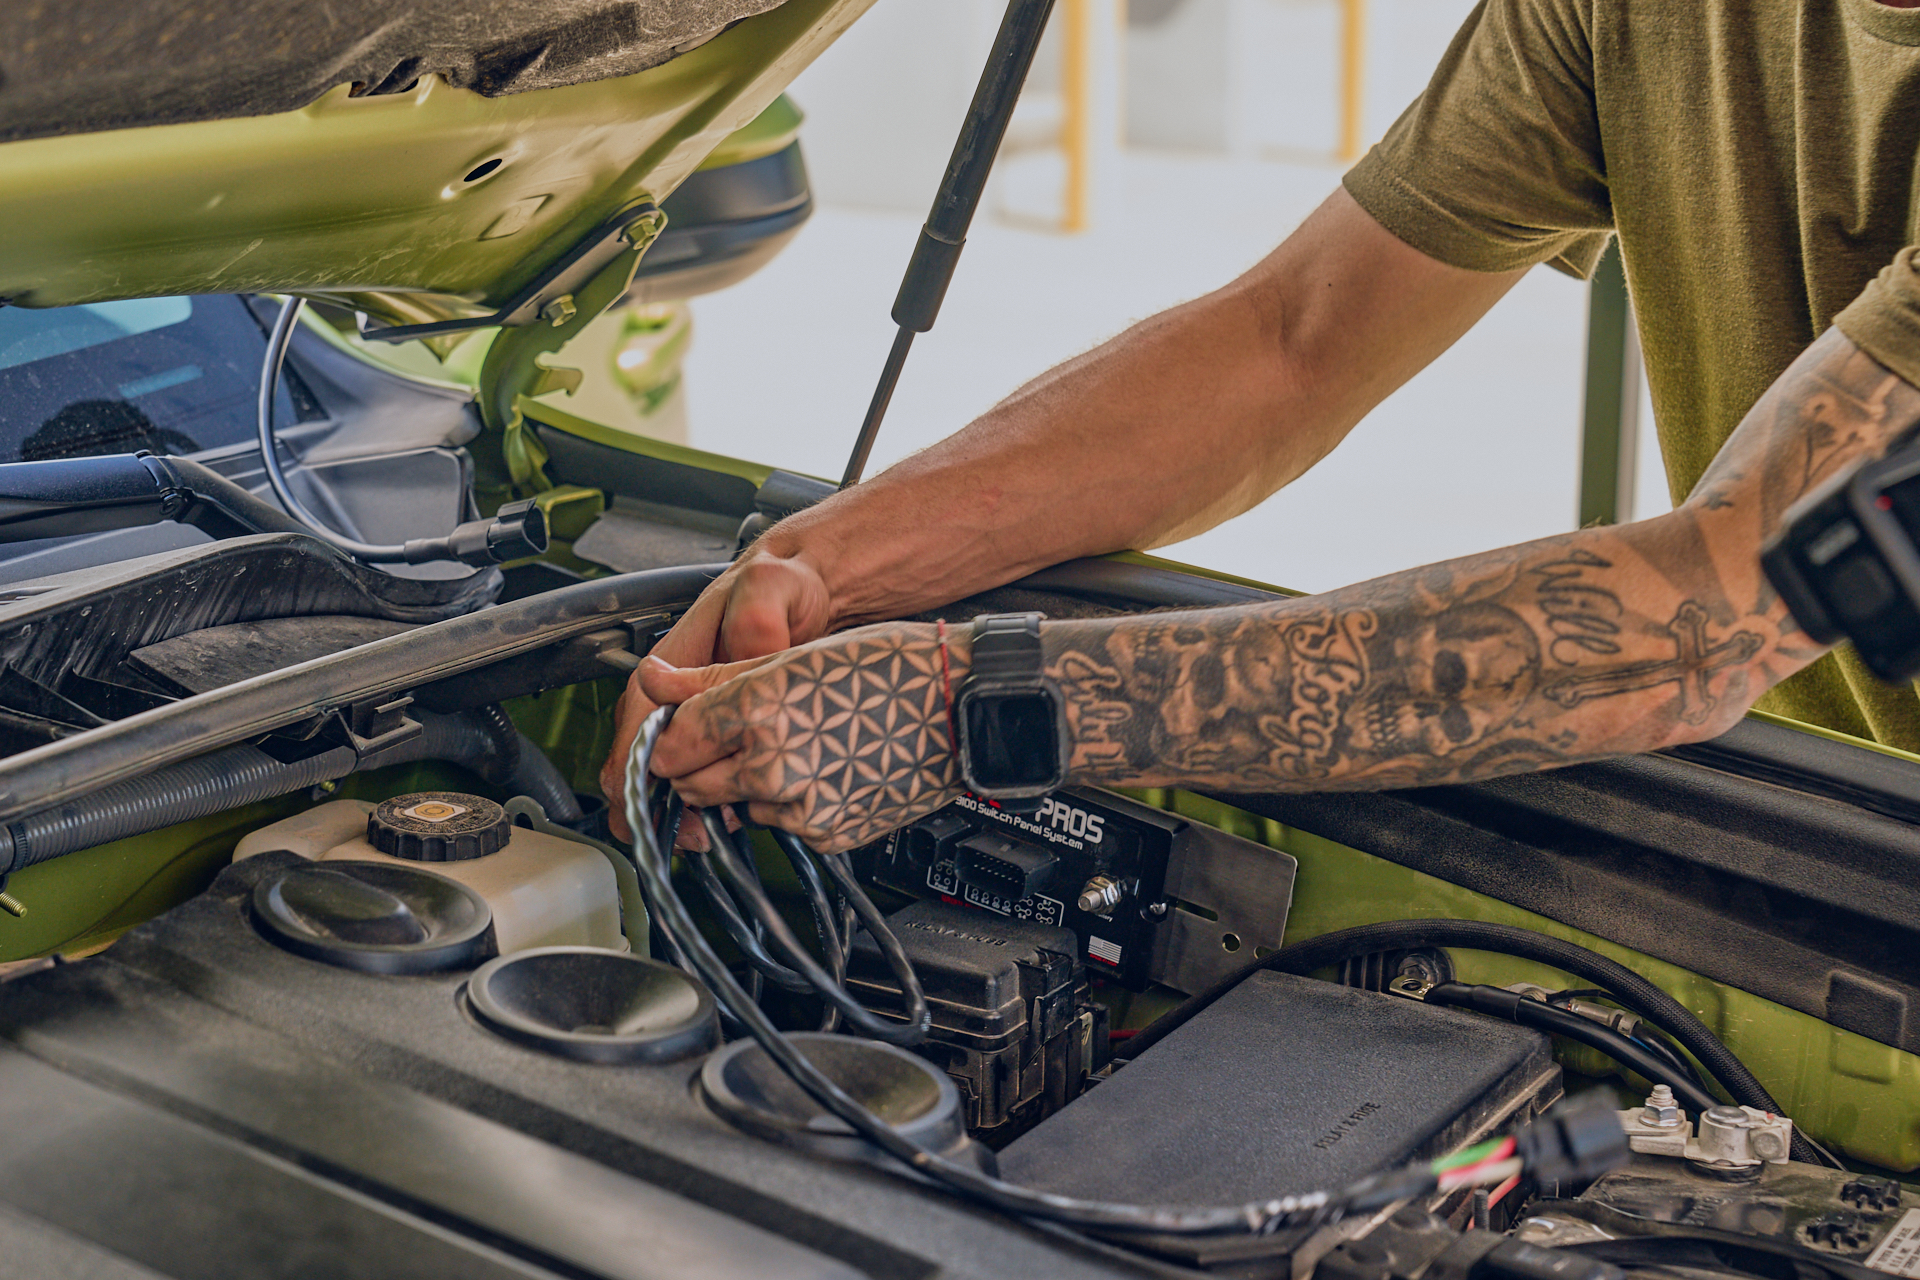
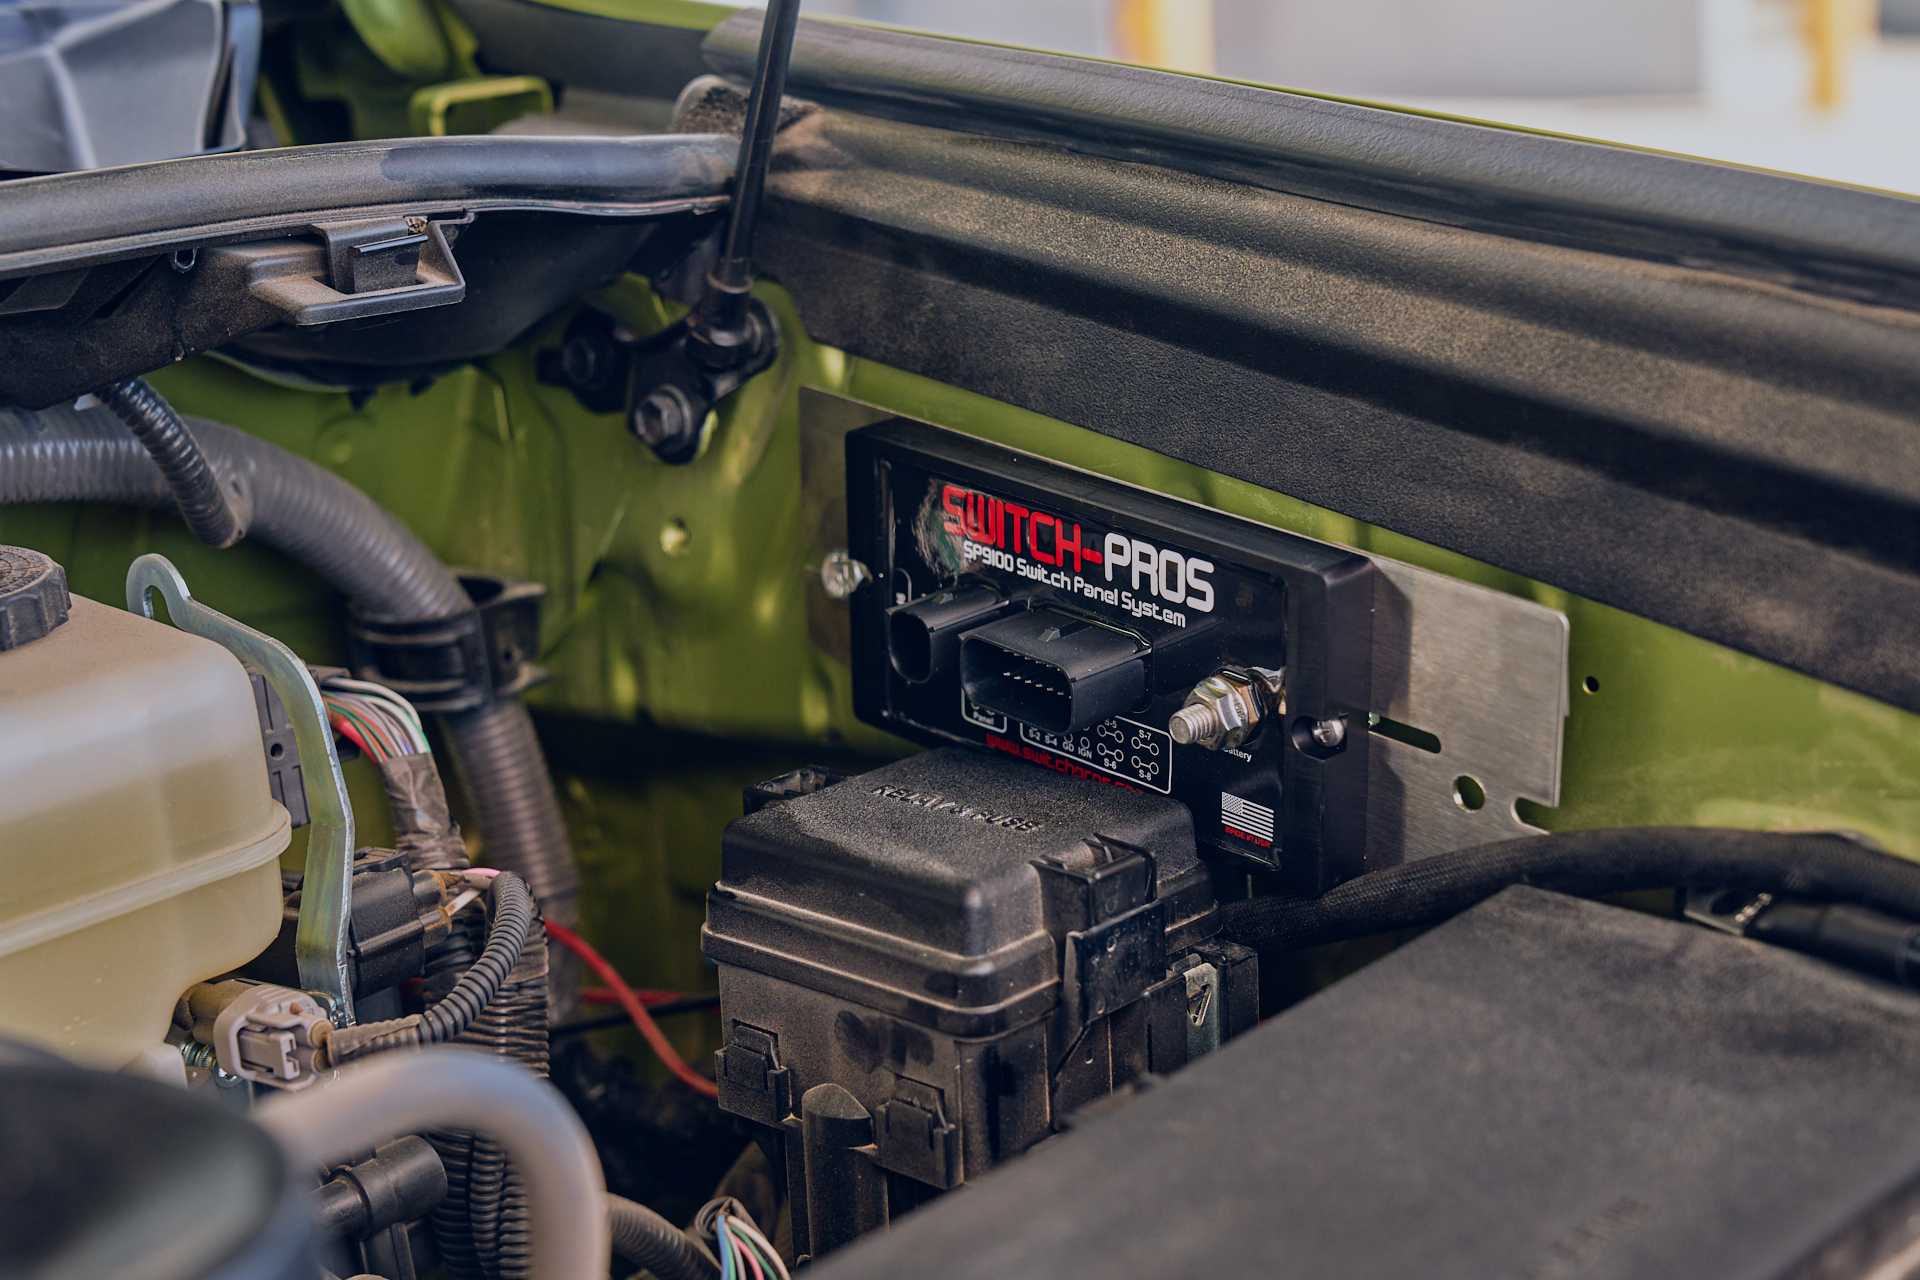
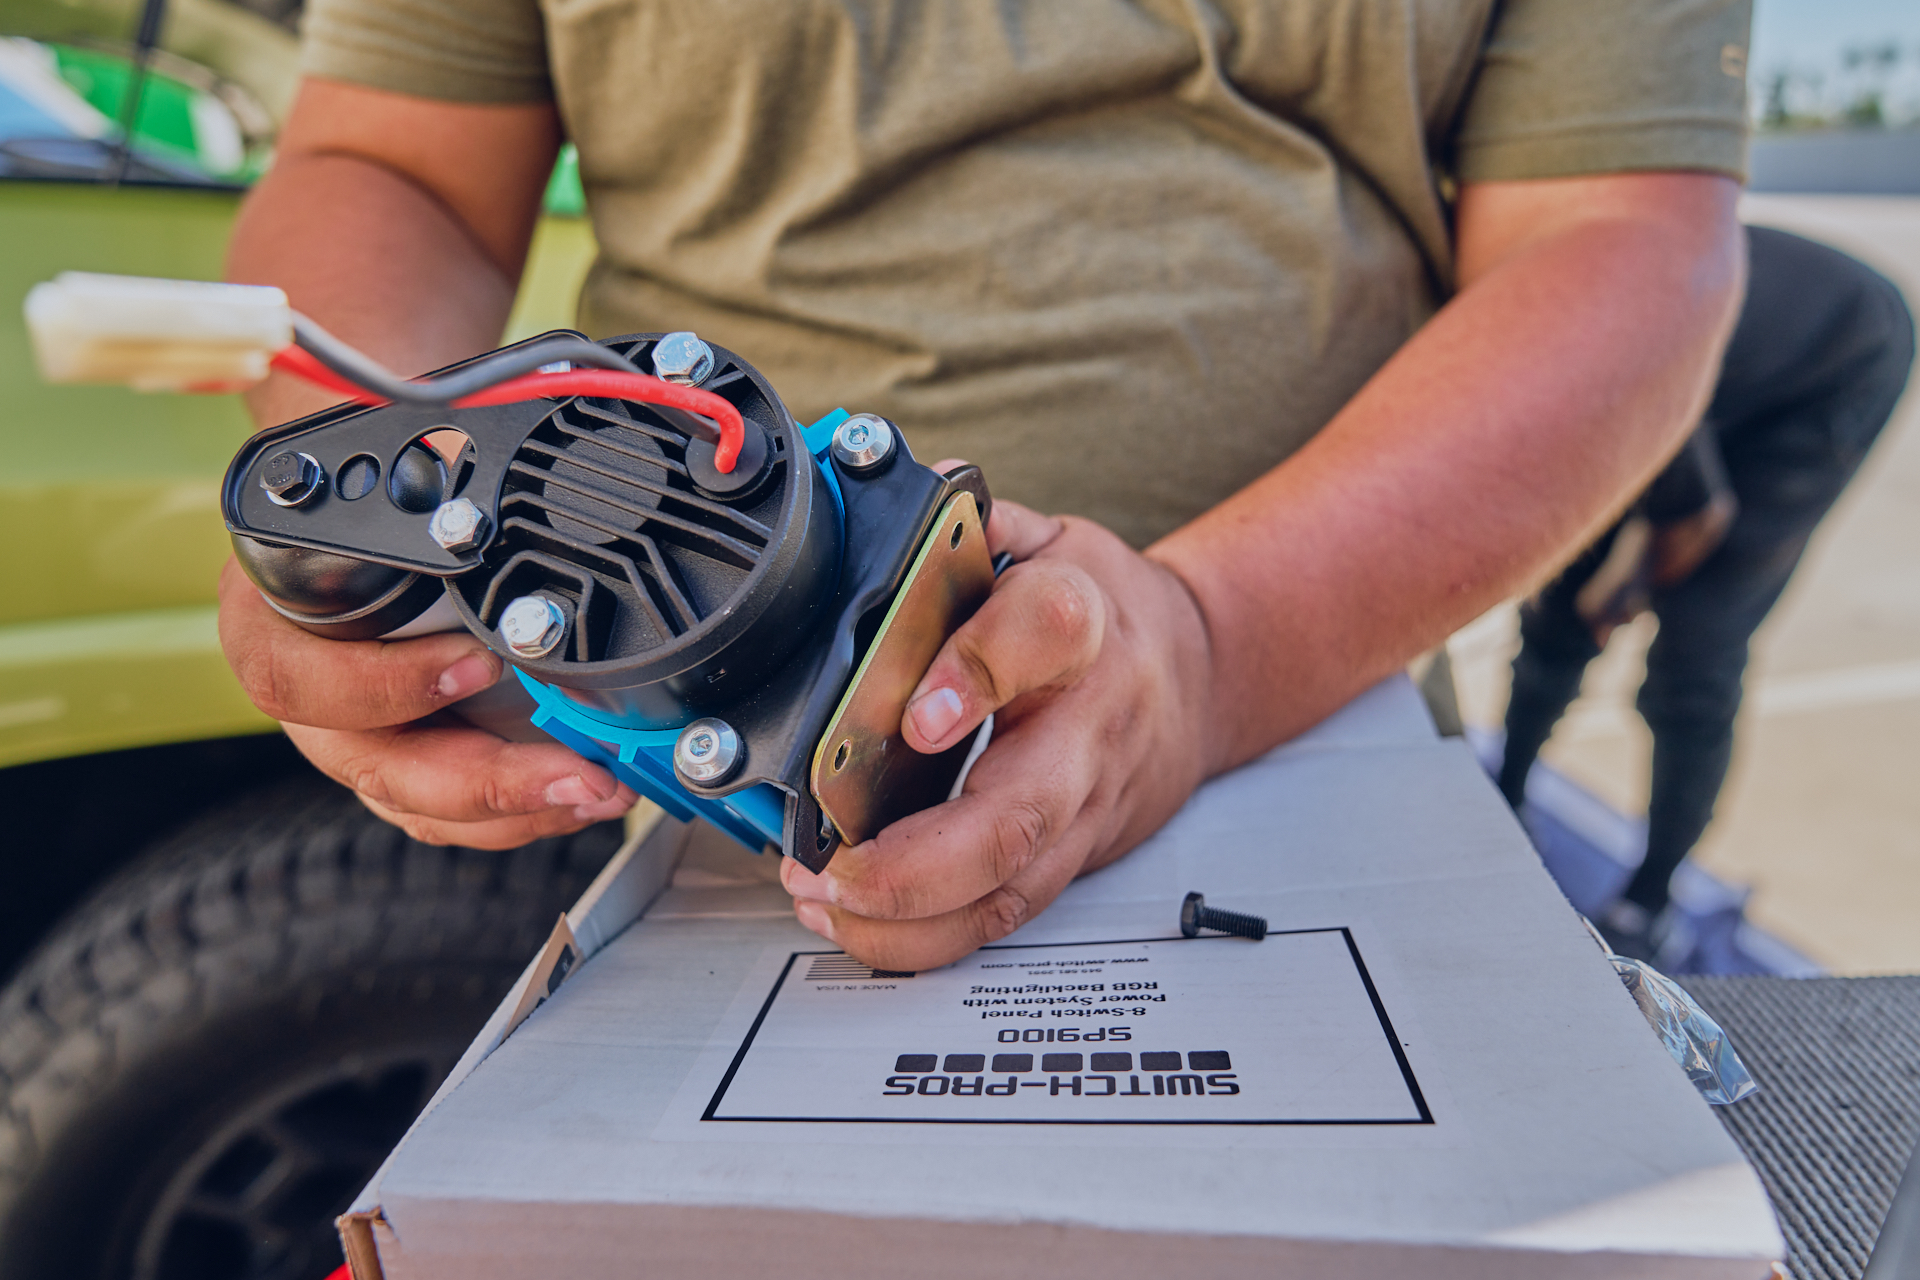
Switch Panel
For our lighting controls we decided to pick up a SwitchPros SP9100 Switch Panel. This system allows us to have perfect control over our new lighting from a convenient location inside the cab. There’s even an option to hook up our train horn.
Install and impressions
Overall, we were quite impressed with how easy the lights went on. The Fog Lights were a perfect fit and used the OEM mounting points so those went in without a fuss. The Ditch & Rock Lights were also pretty easy to install with clear instructions for both. Wiring for them takes some time to run cleanly but overall it’s quite straightforward.
The Light Bars presented a bit of a challenge. While Gobi advertises that their rack it will fit a 40” light bar, we found out that’s not completely accurate. So in the end we have to spend some extra time fabricating some brackets to make that one work correctly.
The bumper light bar also presented an unplanned issue. Our original plan was to use a dual row 20 inch bar from KC to match the 40 inch bar on the roof. However, we realized after we received it that it won’t actually fit in our bumper. So instead of compromising the integrity of the bumper by cutting it to fit the larger light bar, we are sourcing a single row option and will find another use for our KC 20 inch bar.


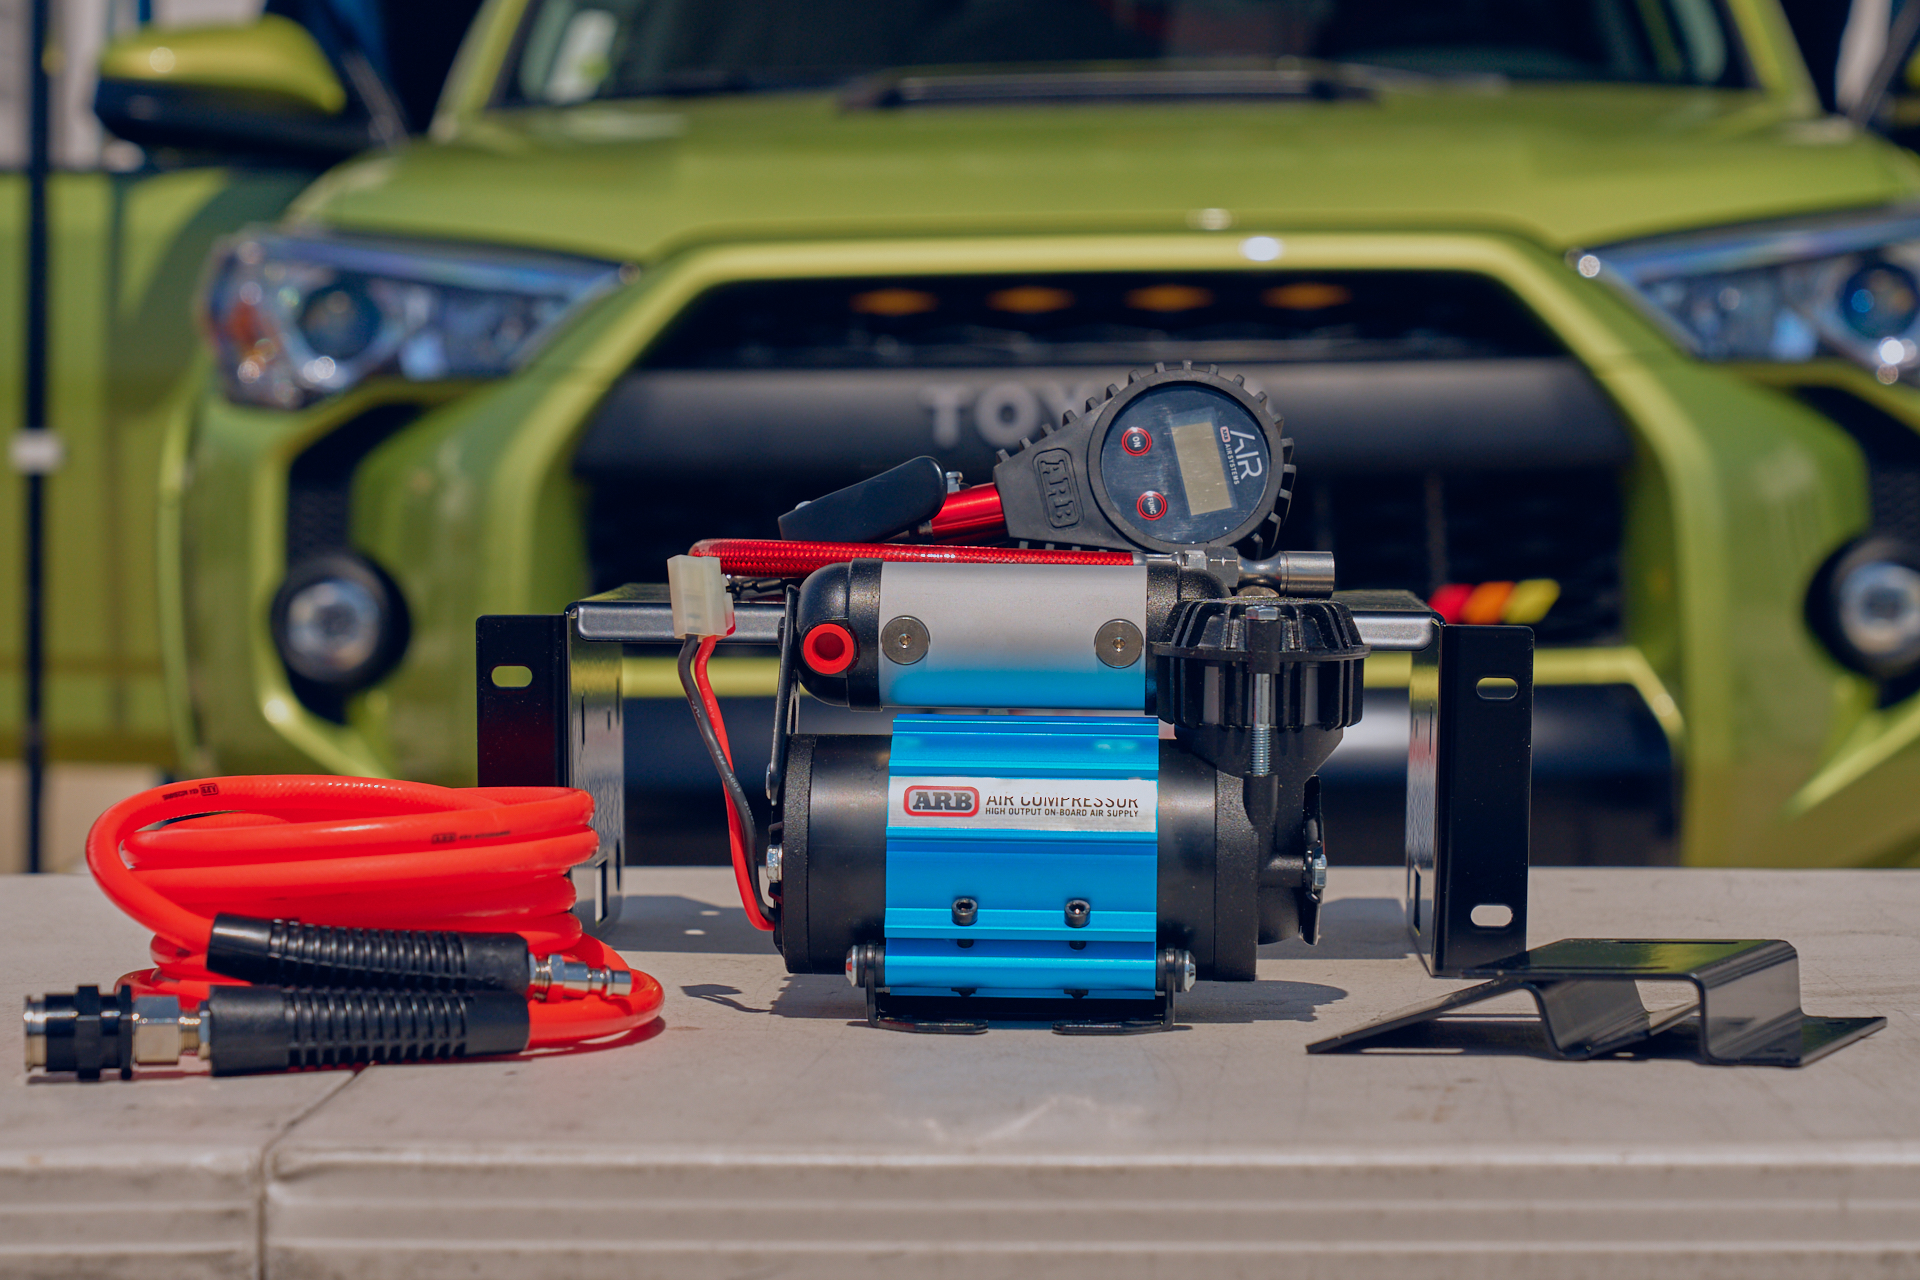
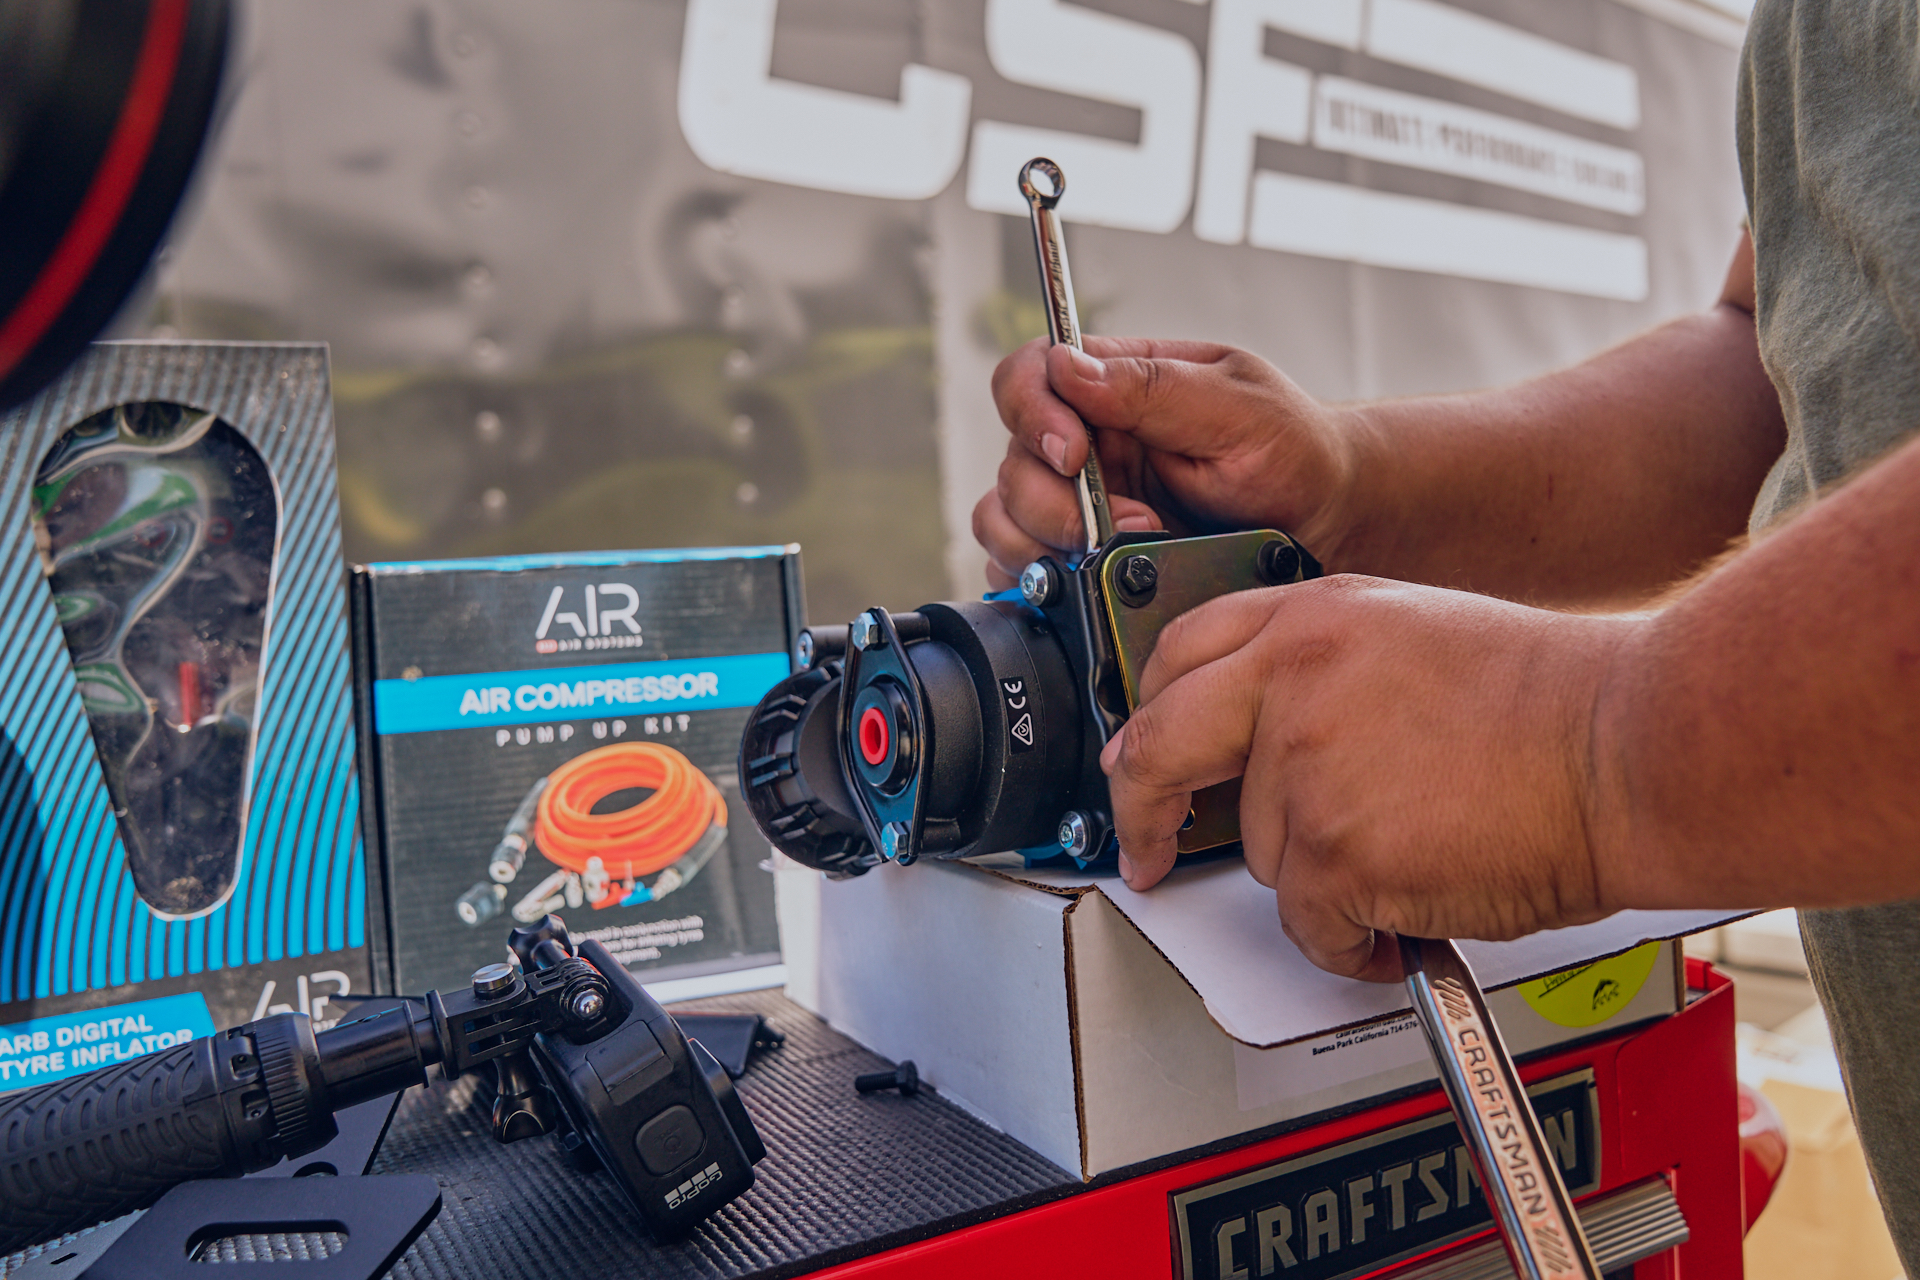
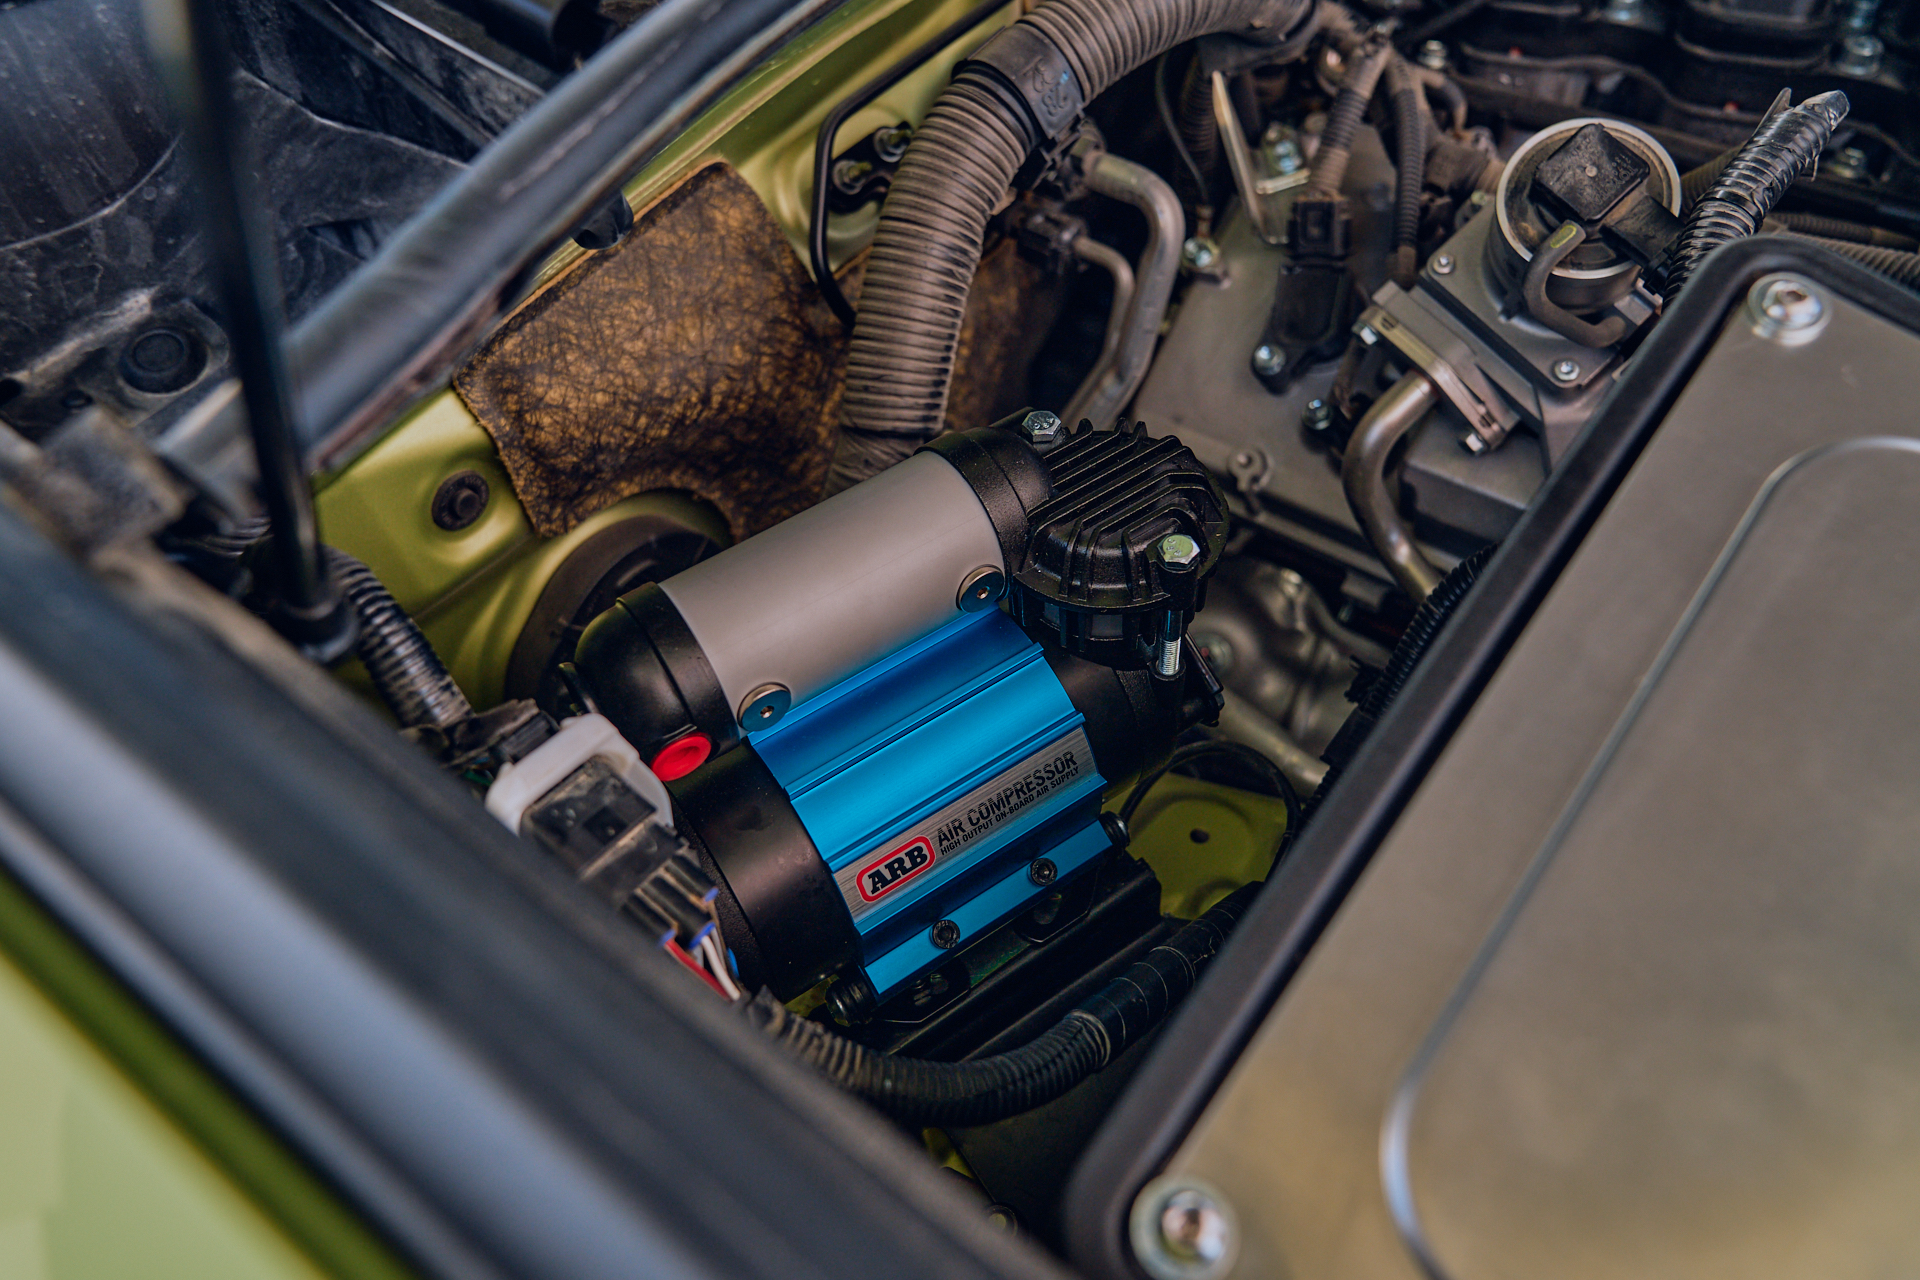
ARB Air Compressor
Now you may be wondering why we would install an on-board air compressor on the 4Runner. While generally considered to be common knowledge, it may not actually be widely known that a common practice in off-roading is to lower your tire pressure. This is done to increase your tire’s contact patch and improve traction. However, once you’re done with your trip though and want to get back onto the road, you ideally want to pump those tires back up to normal pressure. An onboard compressor makes this quick and easy.
The compressor was a pretty easy install overall. We picked out a nice spot in the engine bay right behind the intake for a nice stealthy feel. After that, we did quick measurements to ensure out hose would reach all 4 tires from this location. The brackets that came with the kit made mounting the compression pretty painless. However, we did have to make some minor modifications to the brackets to make it easier to access the bolts.
After a quick test we can easily see how much faster this is verses using one of those cigarette lighter powered compressors.


Episode 4
Series Playlist
Continue Reading…


COMMENTS